> For the complete documentation index, see [llms.txt](https://docs.cainos.net/llms.txt). Markdown versions of documentation pages are available by appending `.md` to page URLs; this page is available as [Markdown](https://docs.cainos.net/pixel-art-top-down-village/water-rendering.md).

# WATER RENDERING

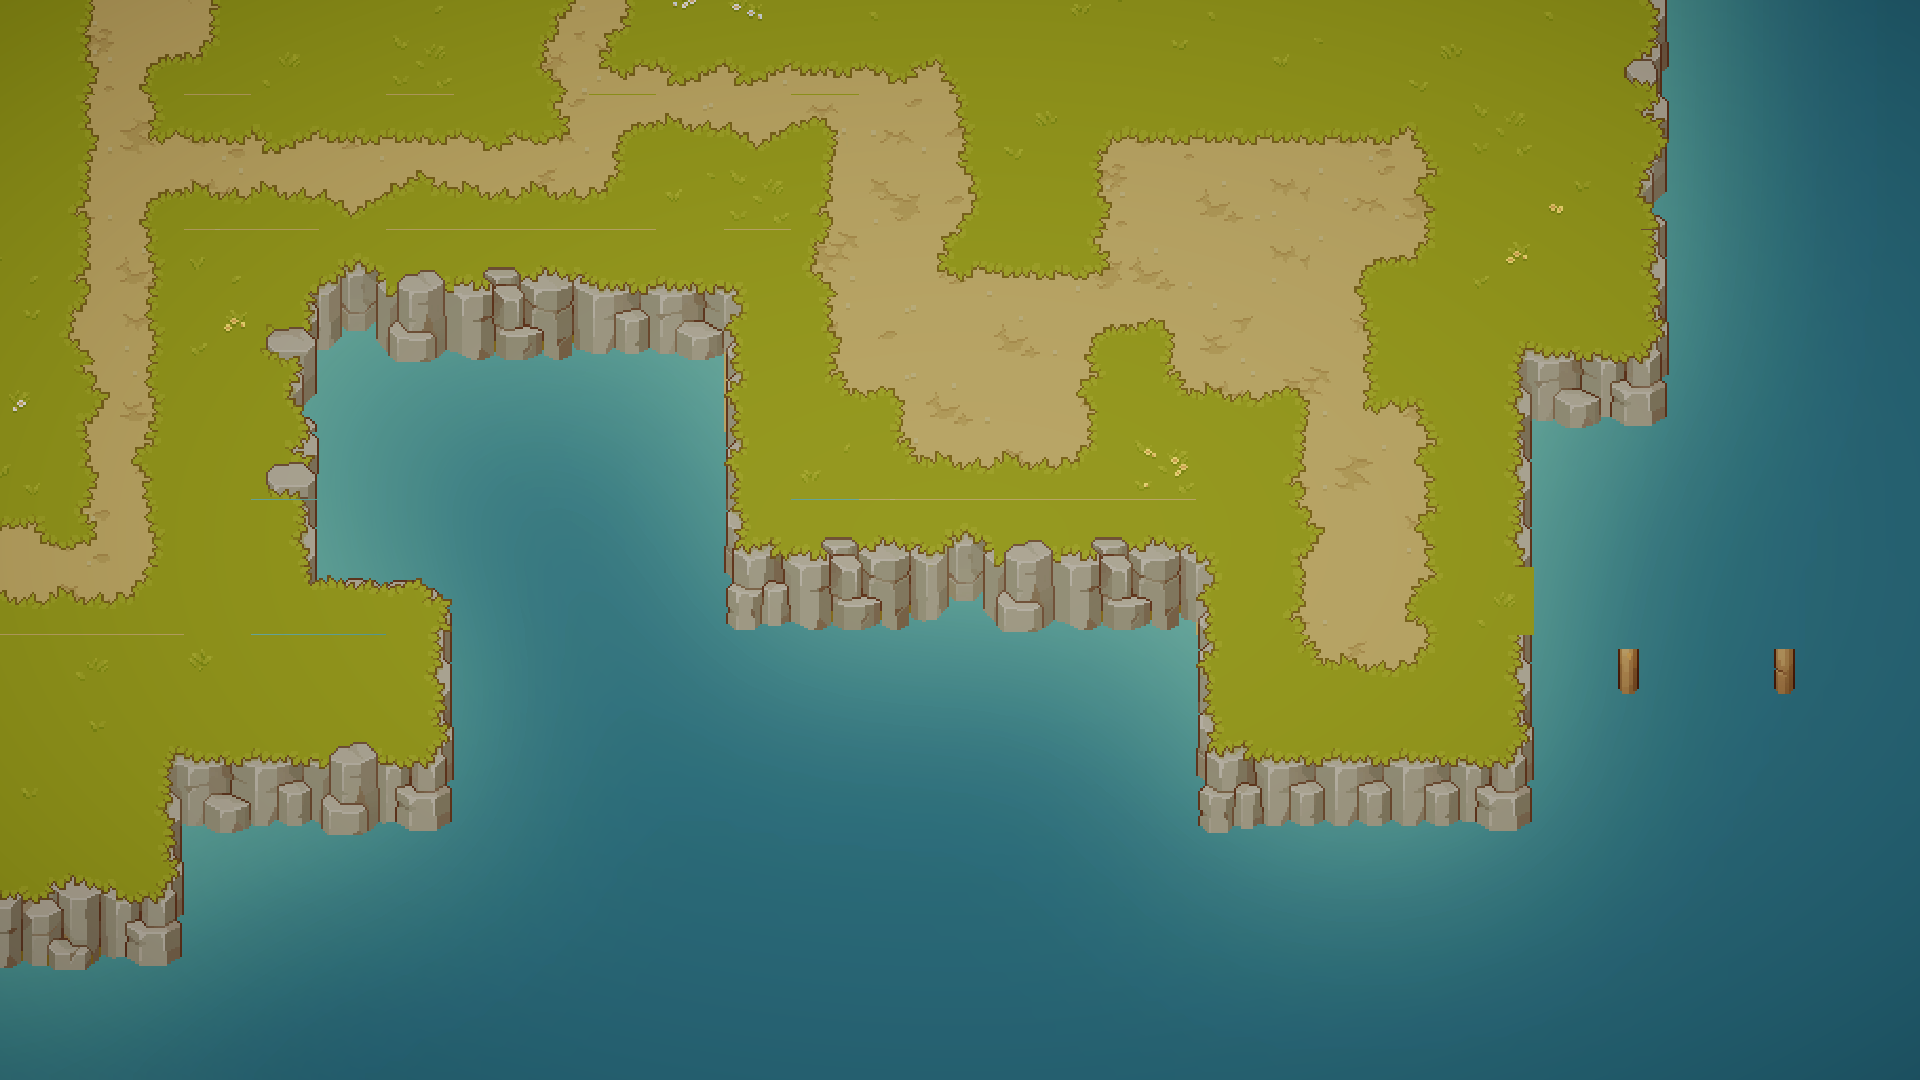
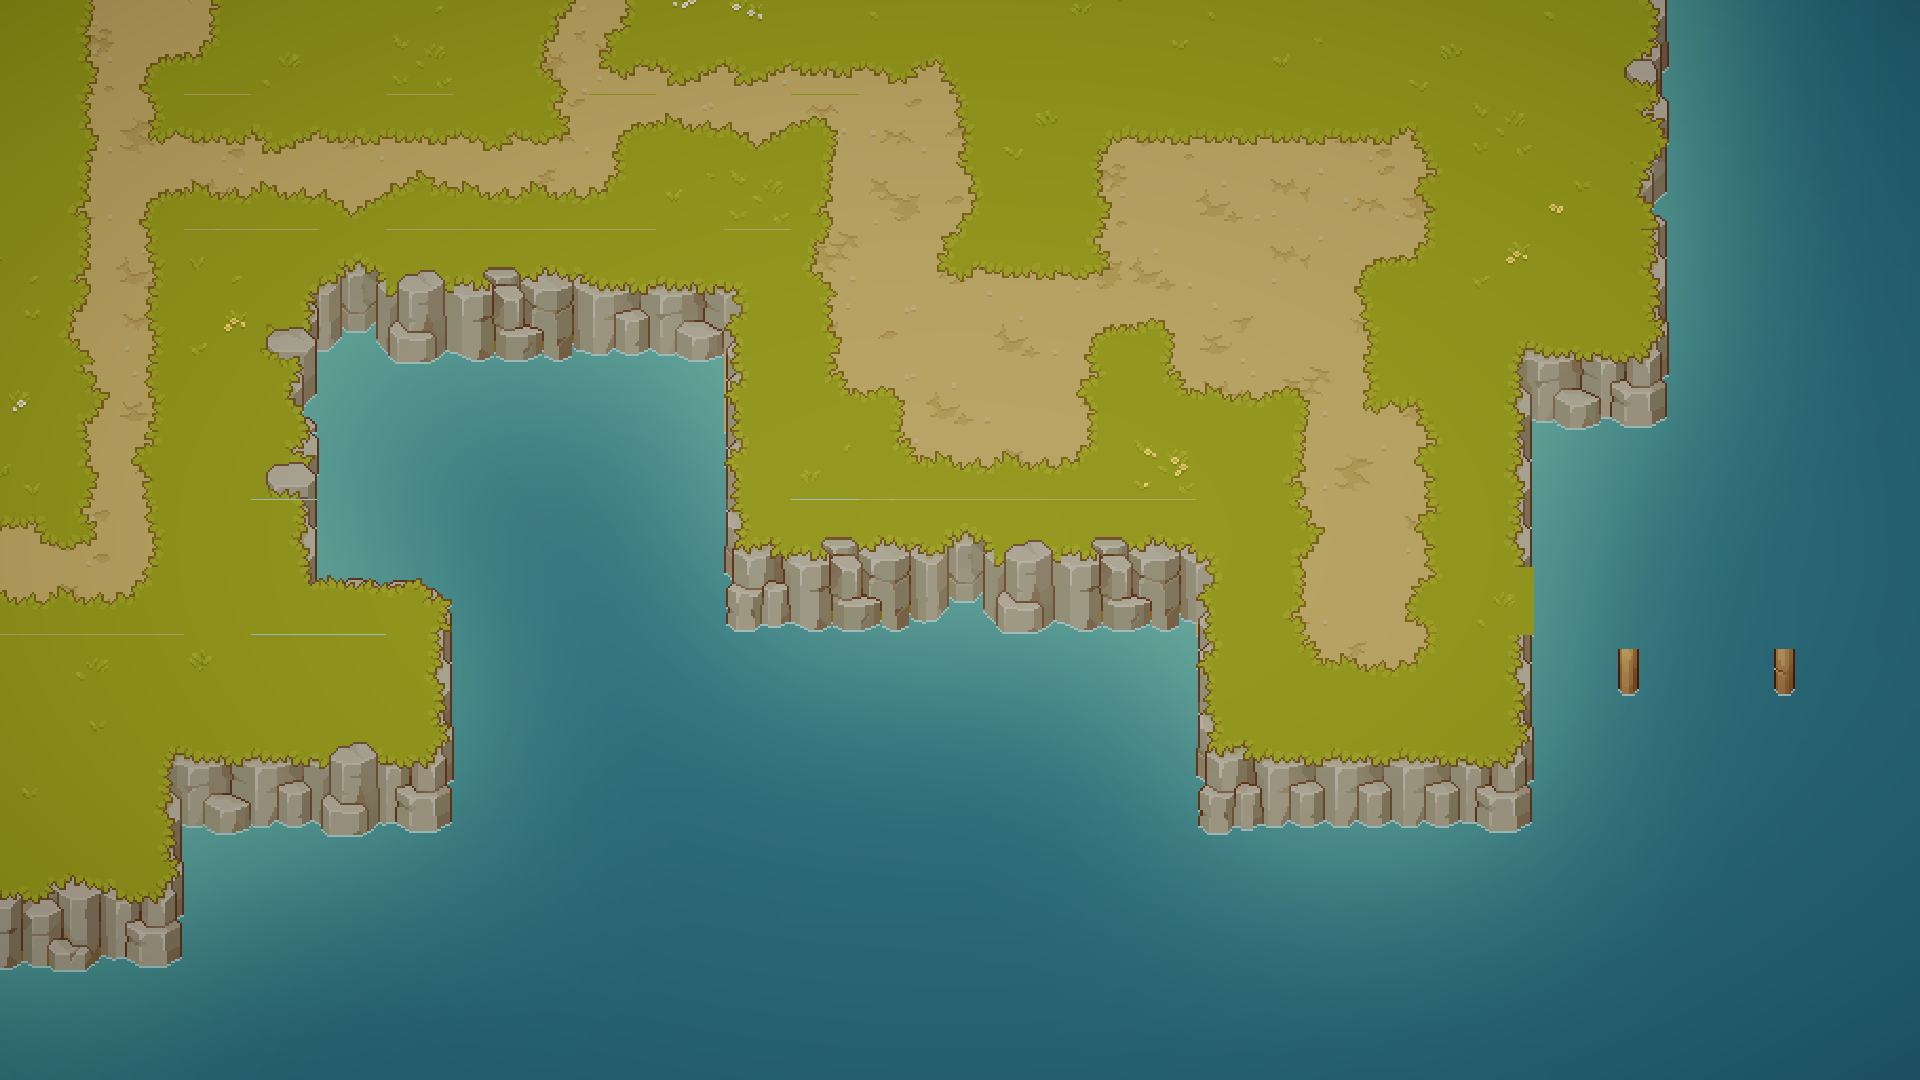
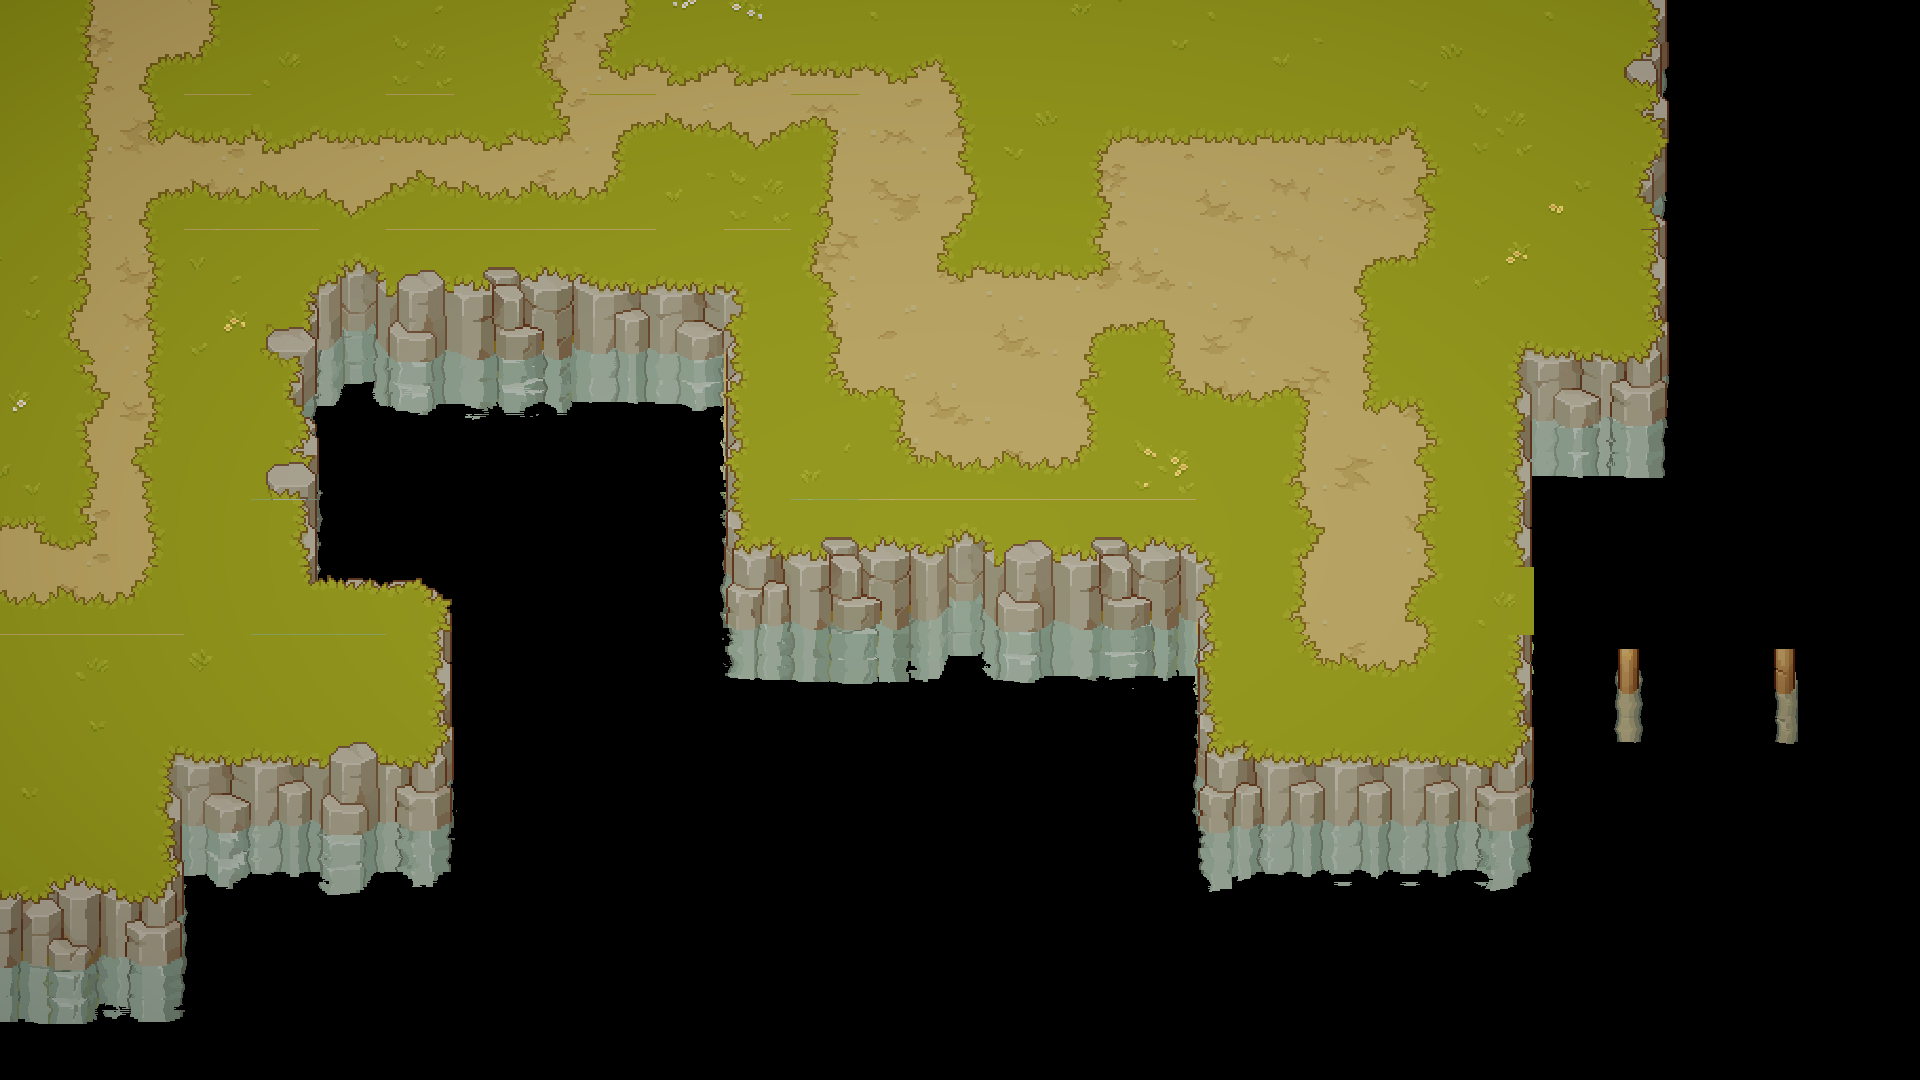
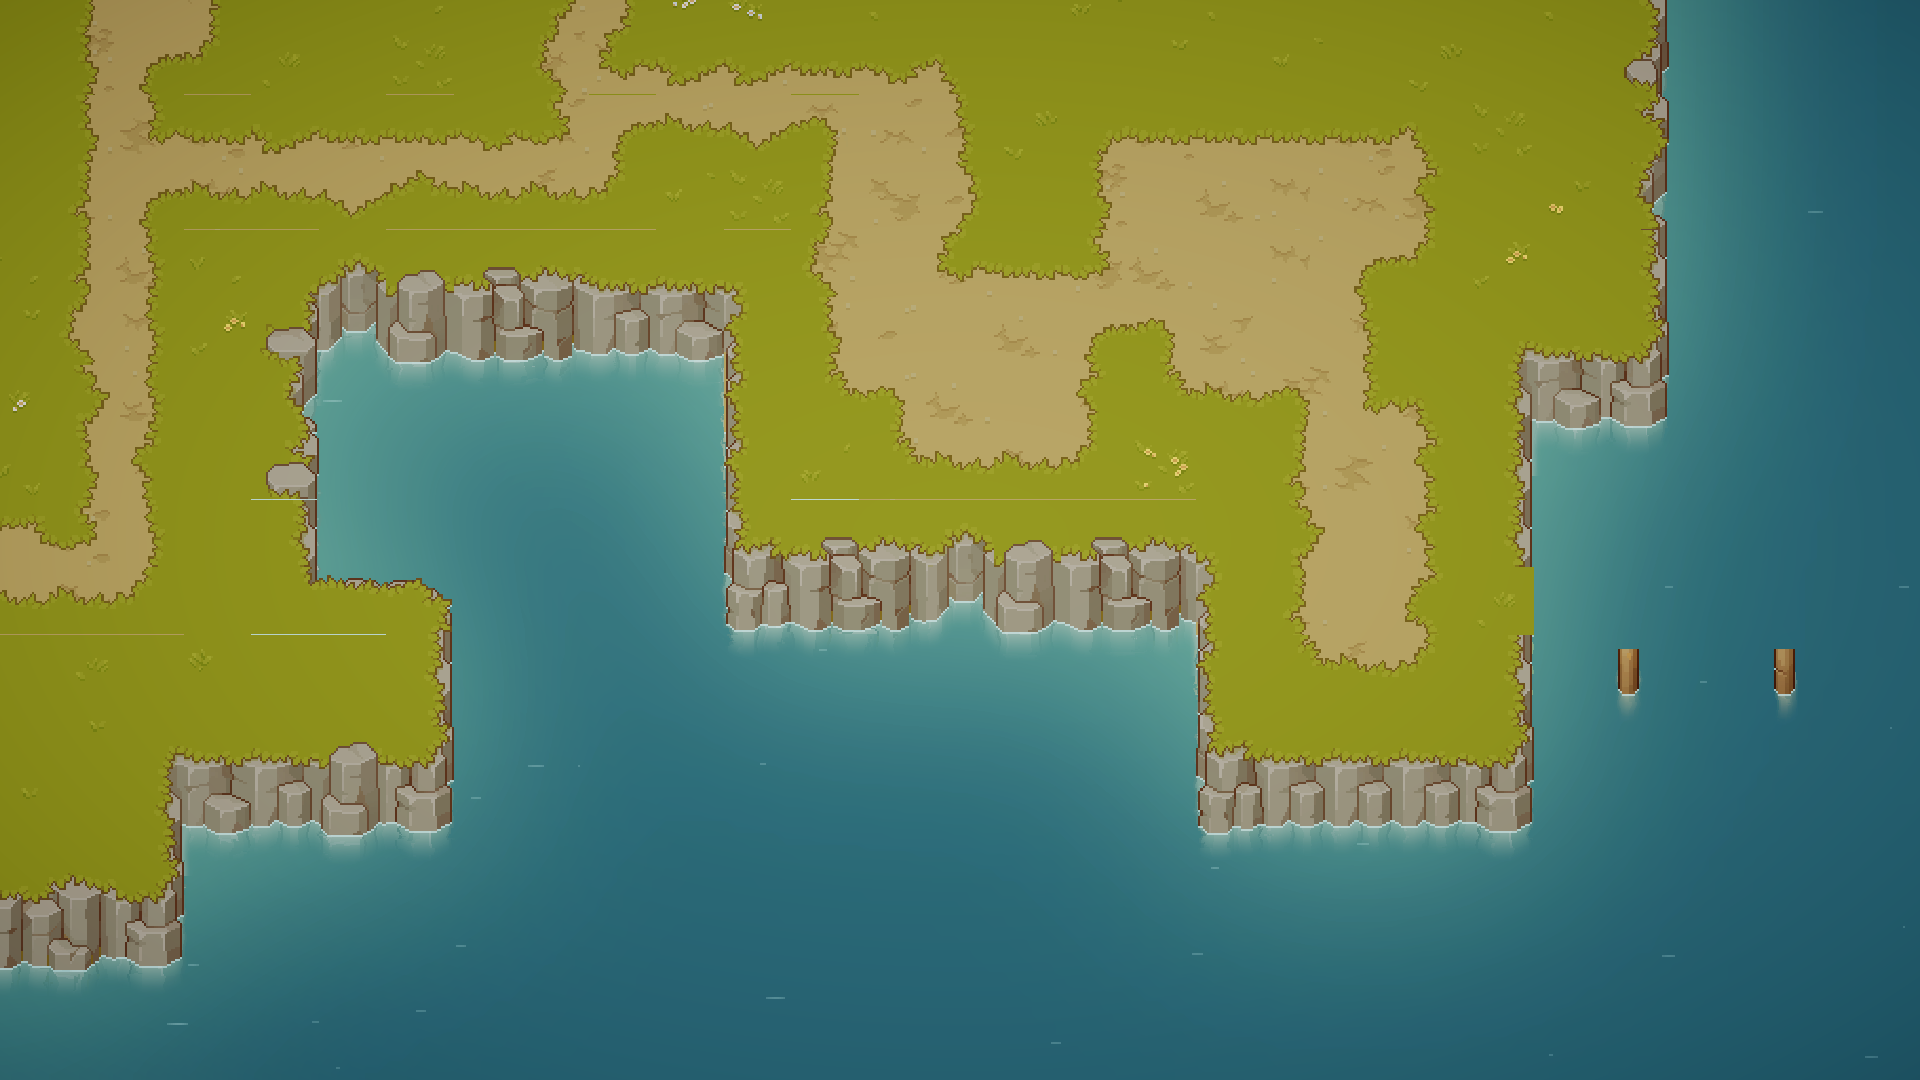
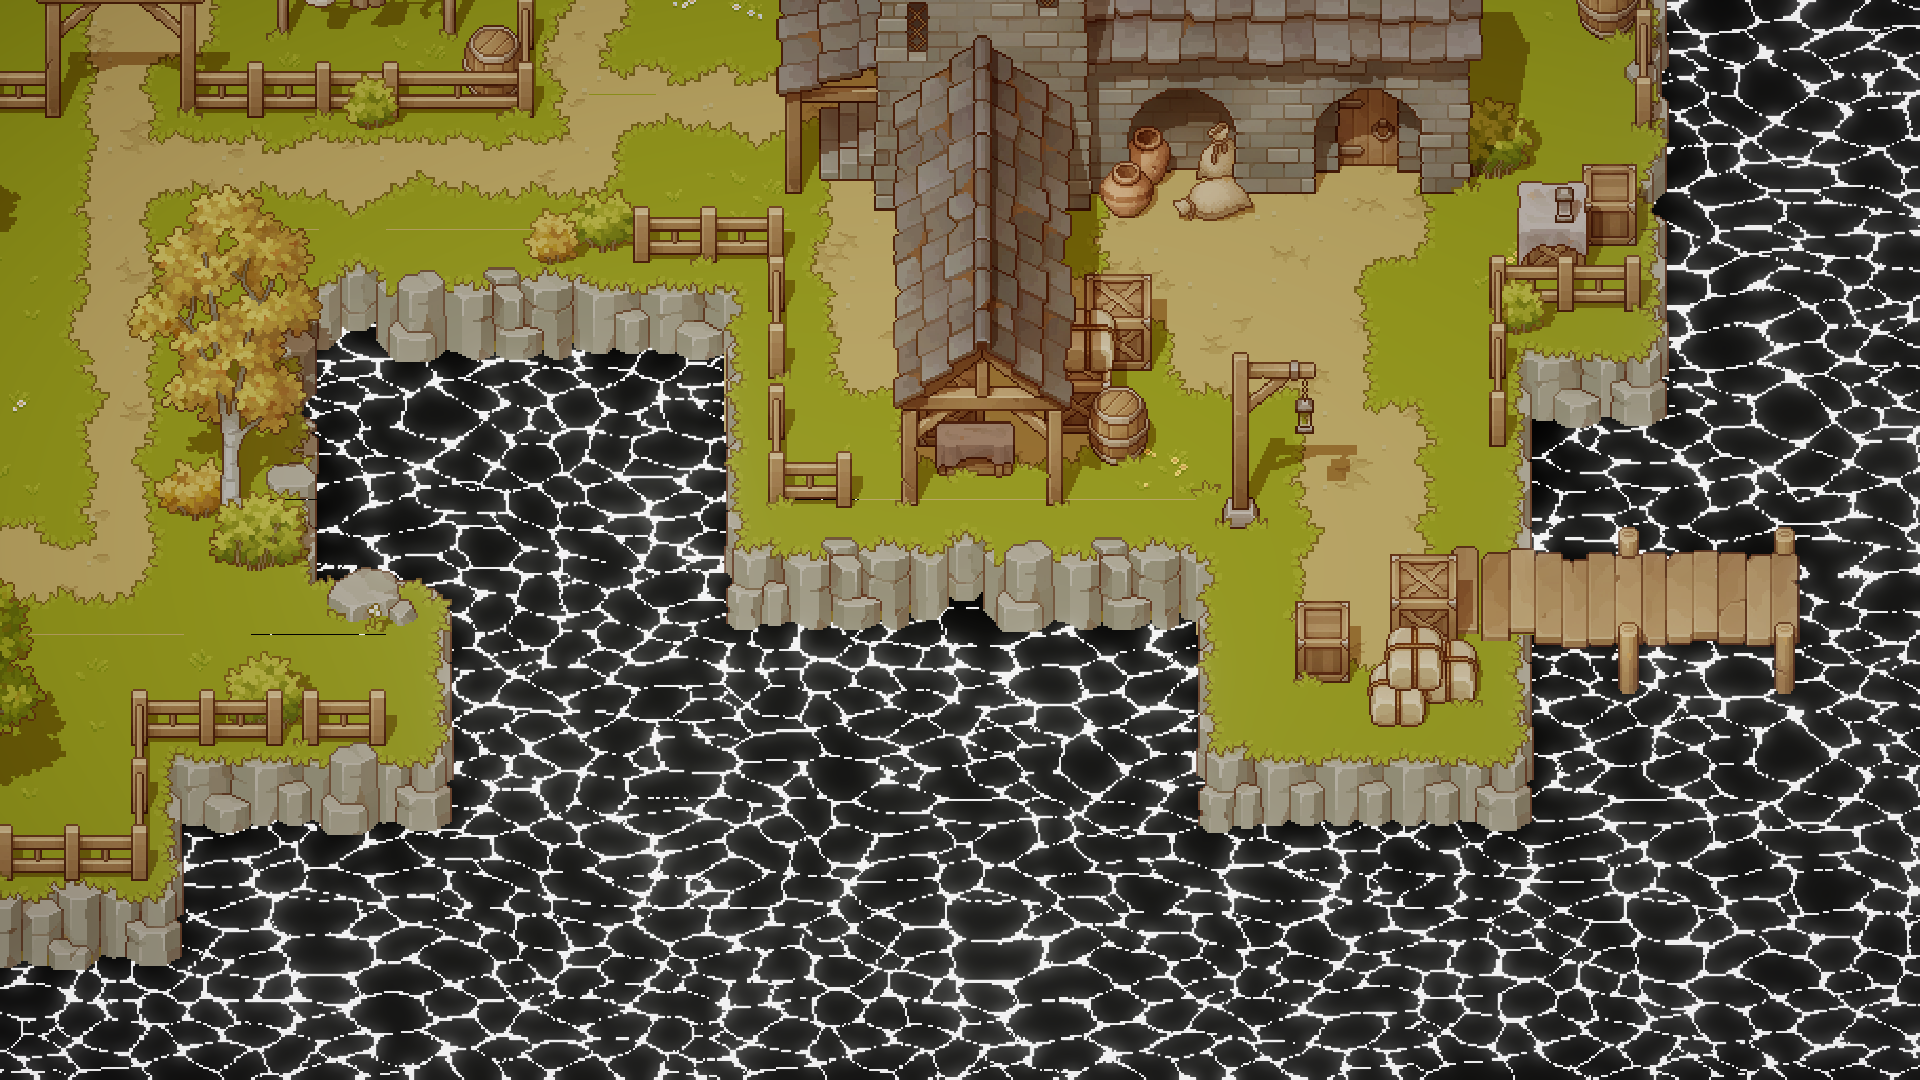
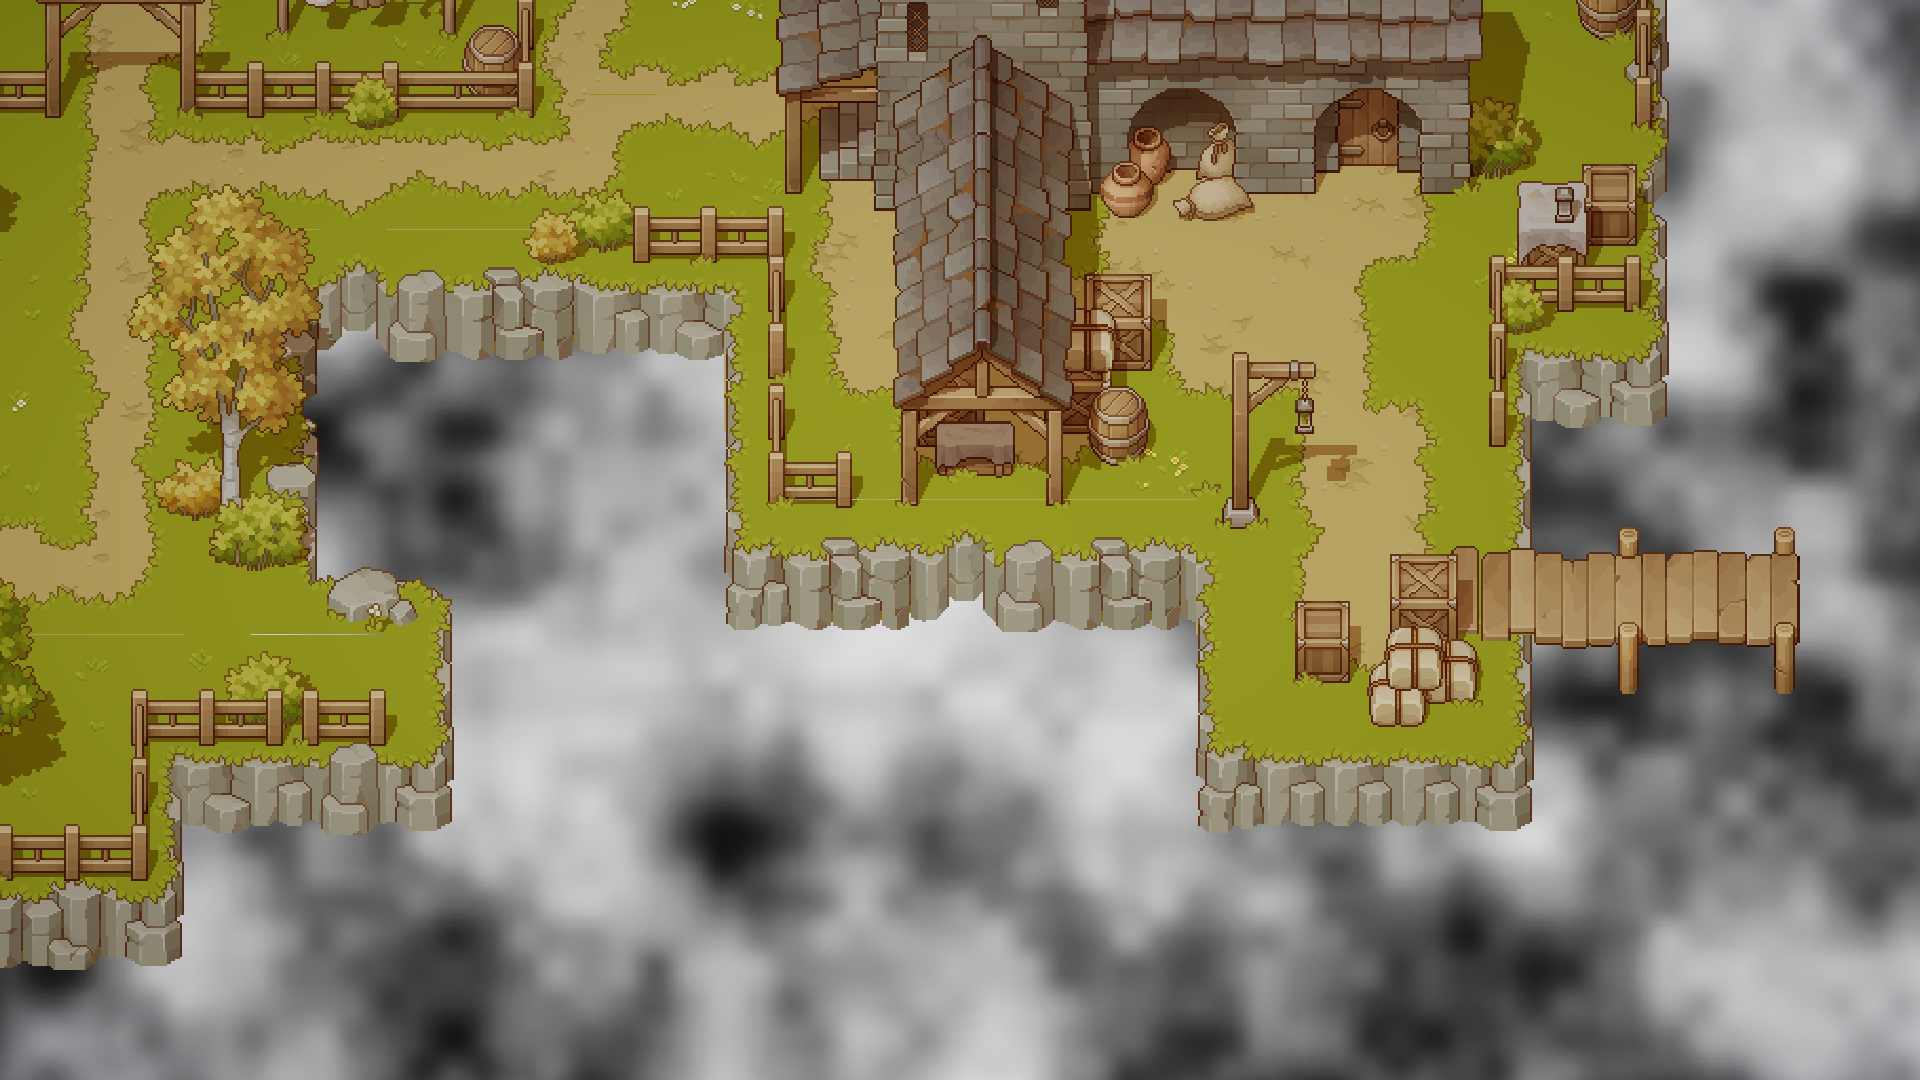
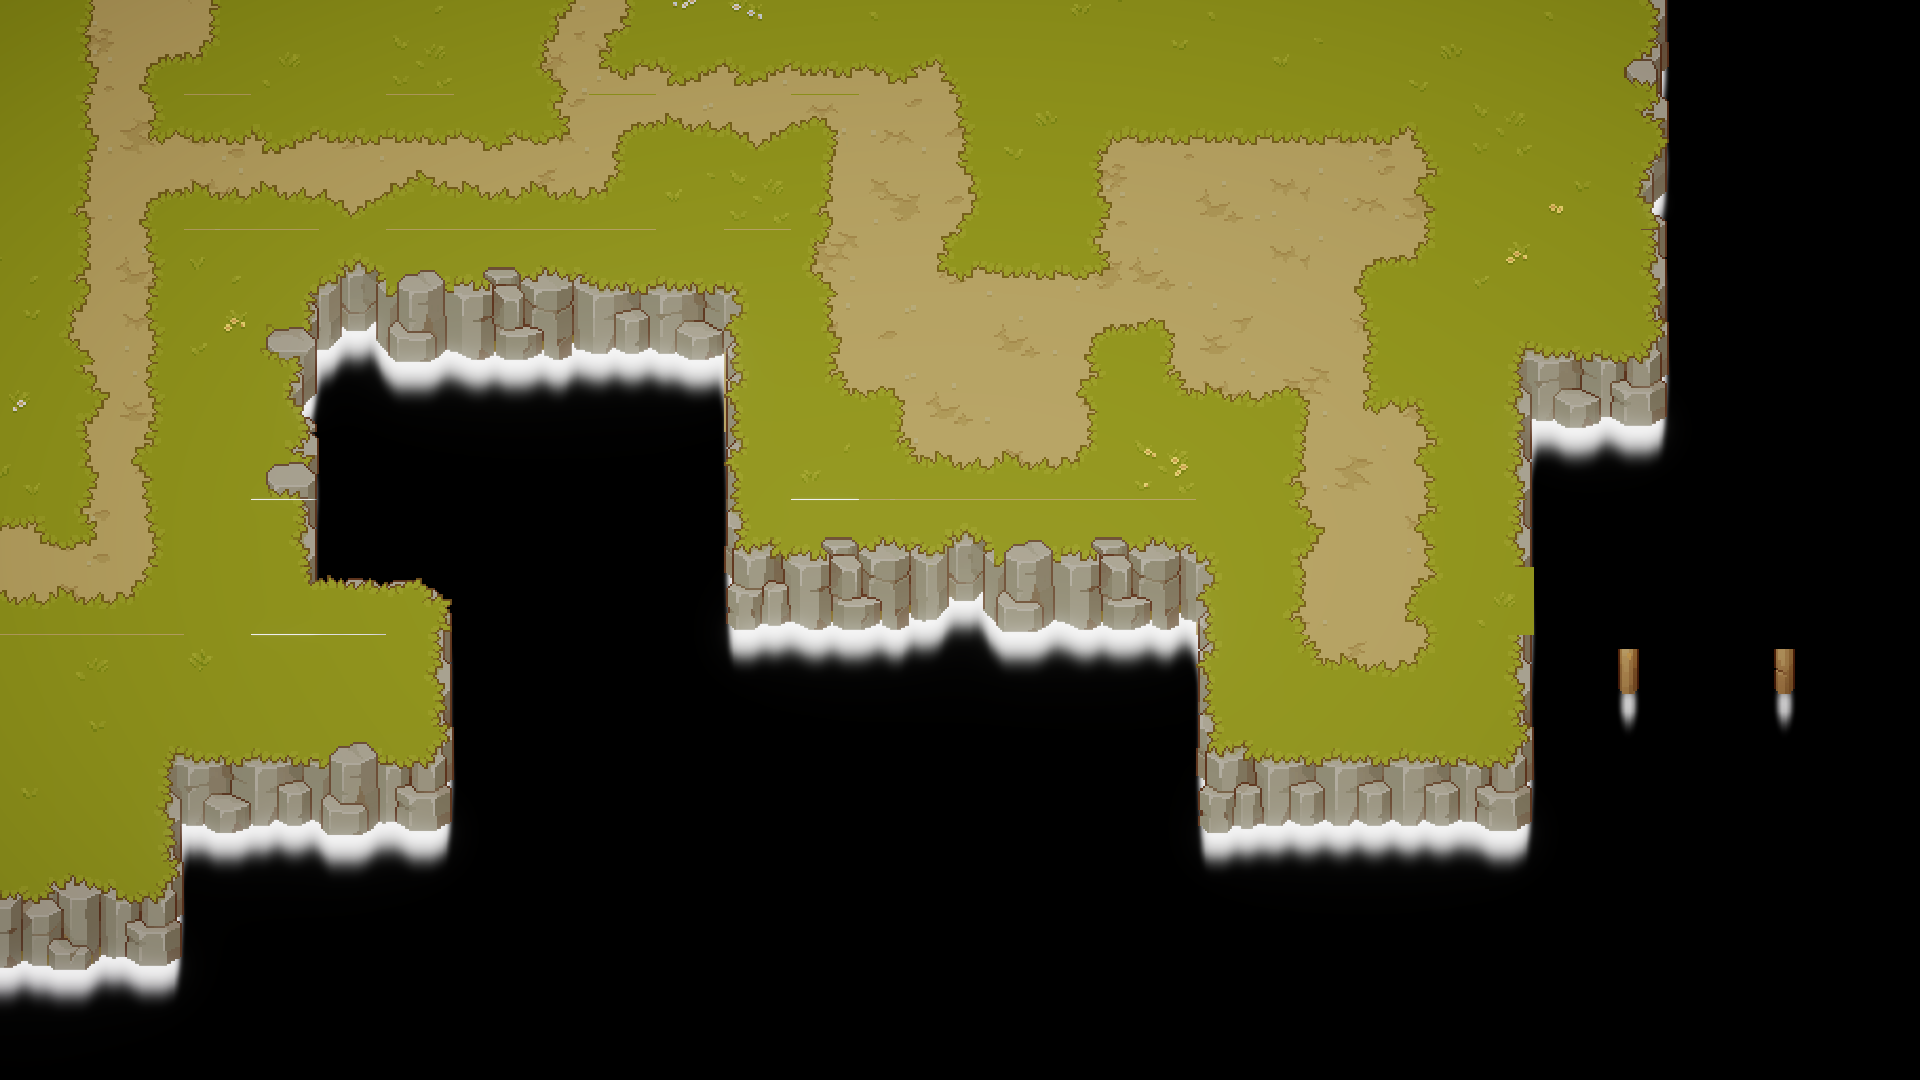
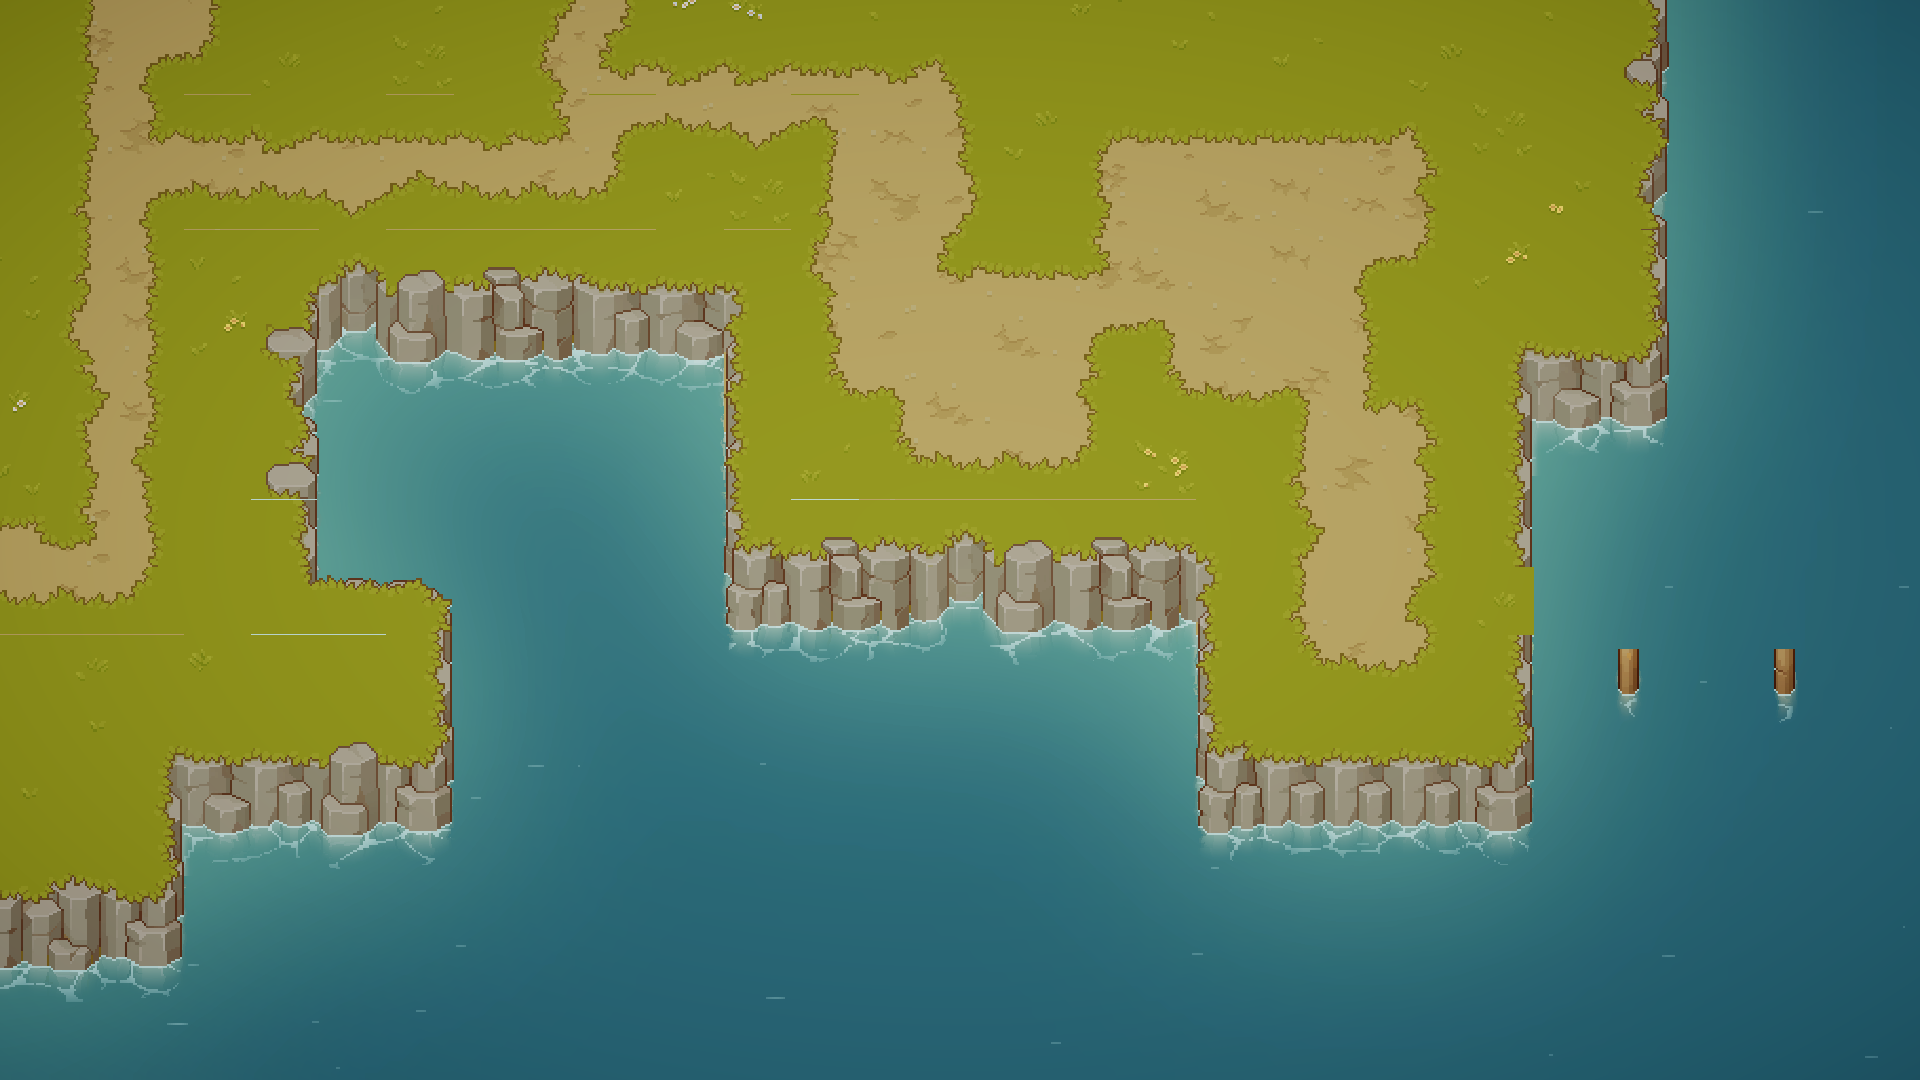
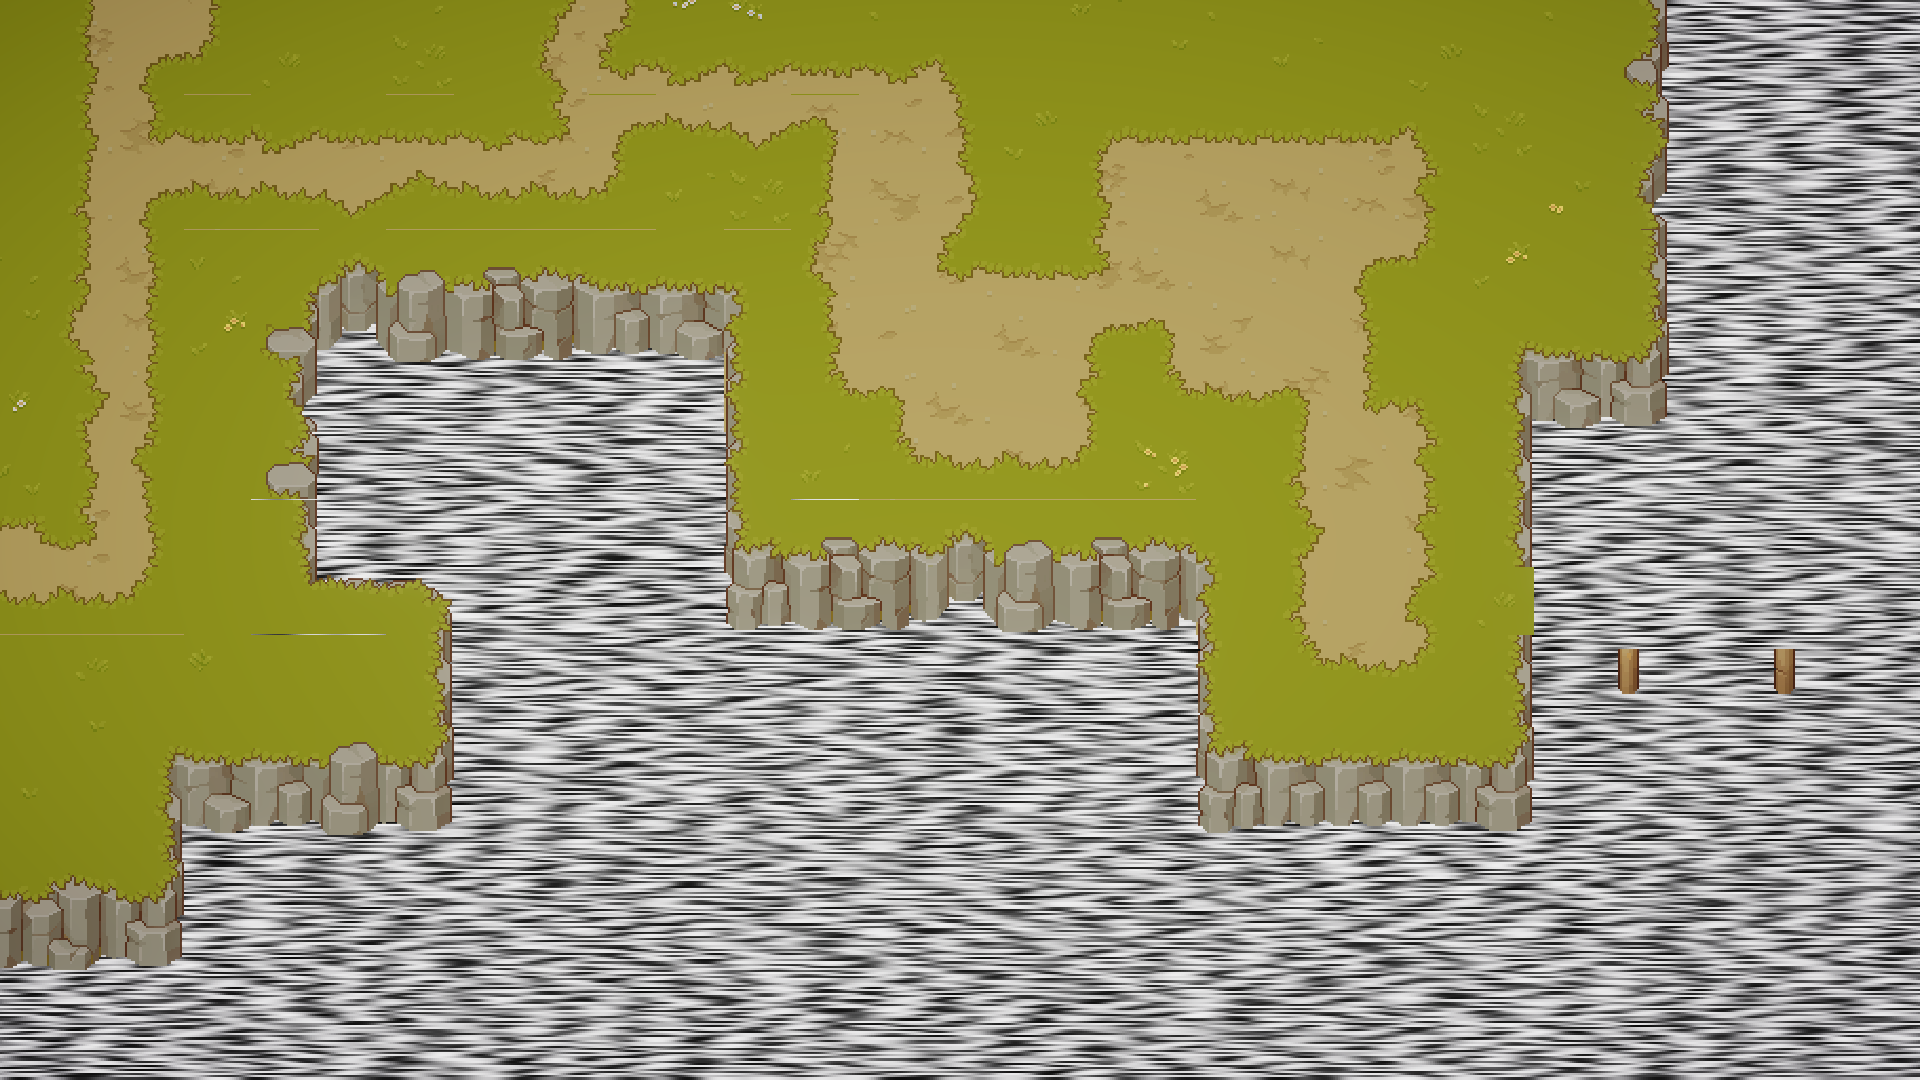
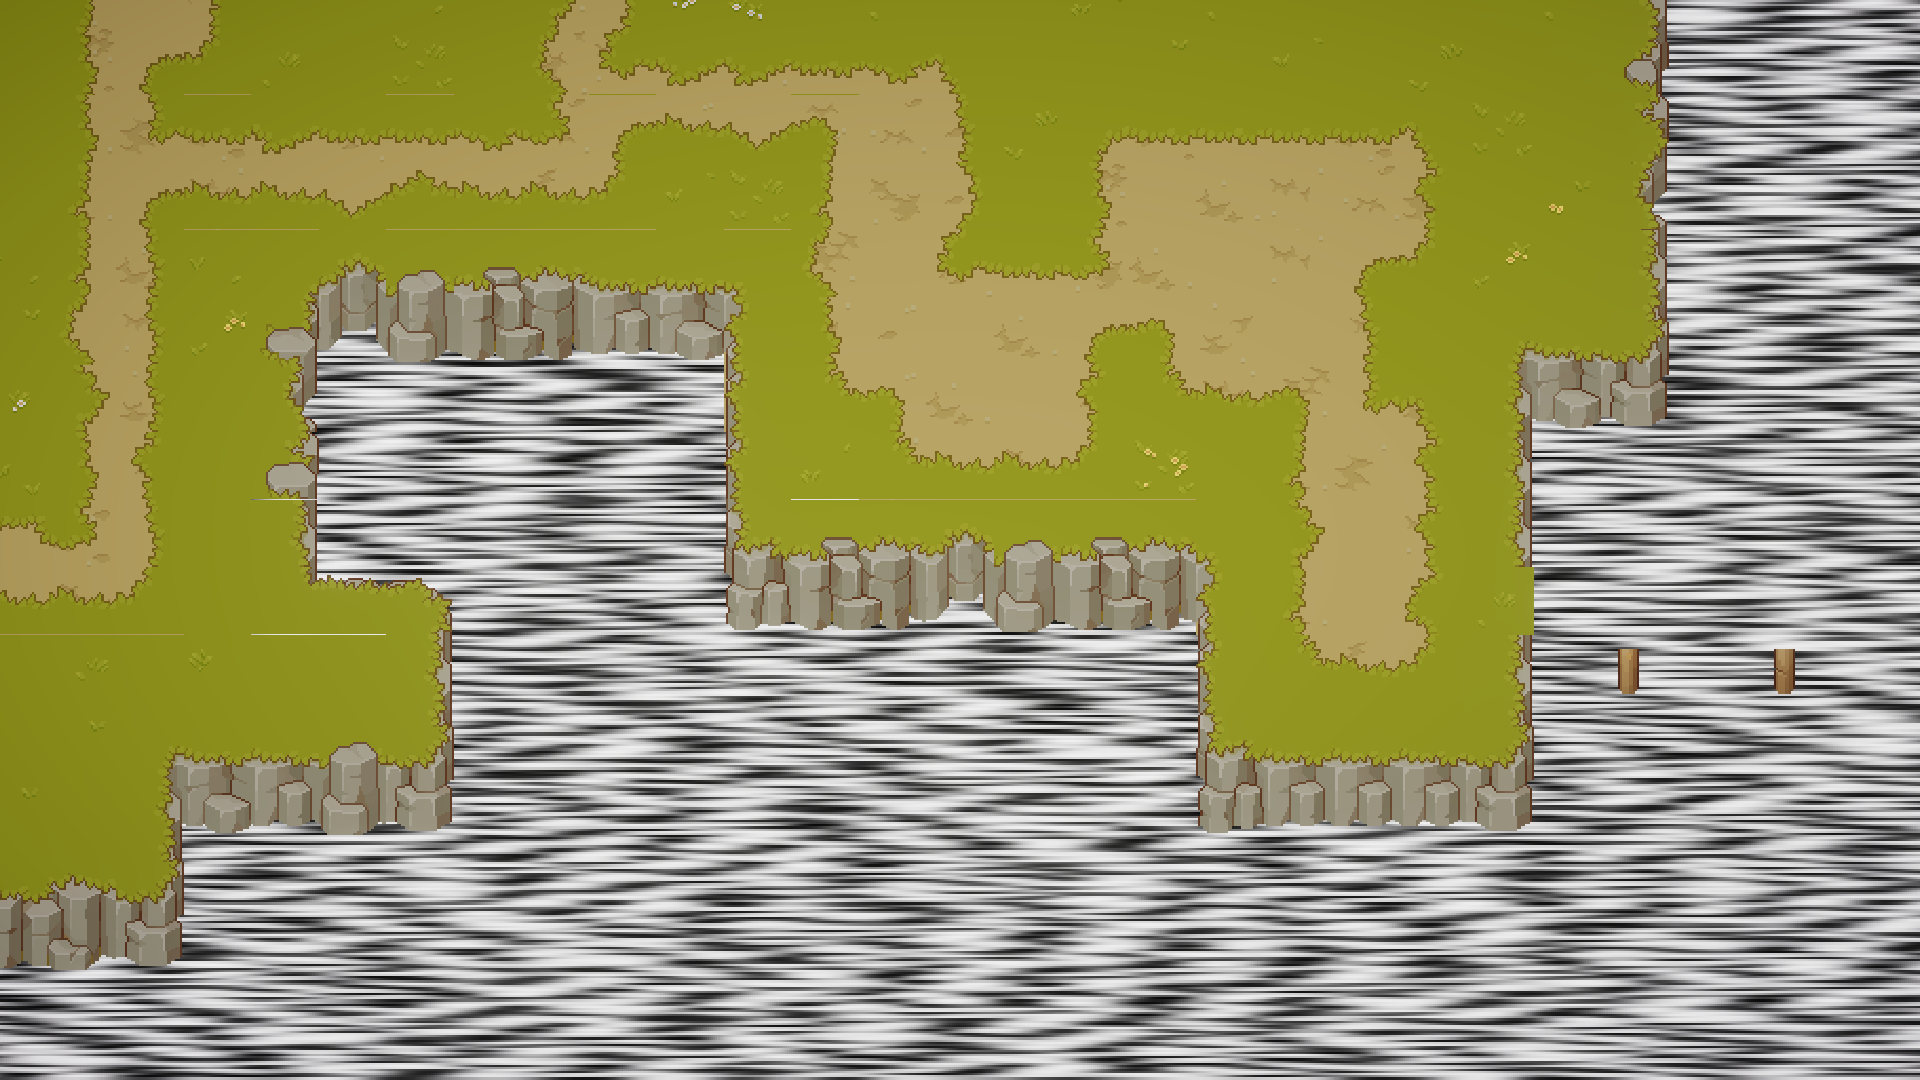
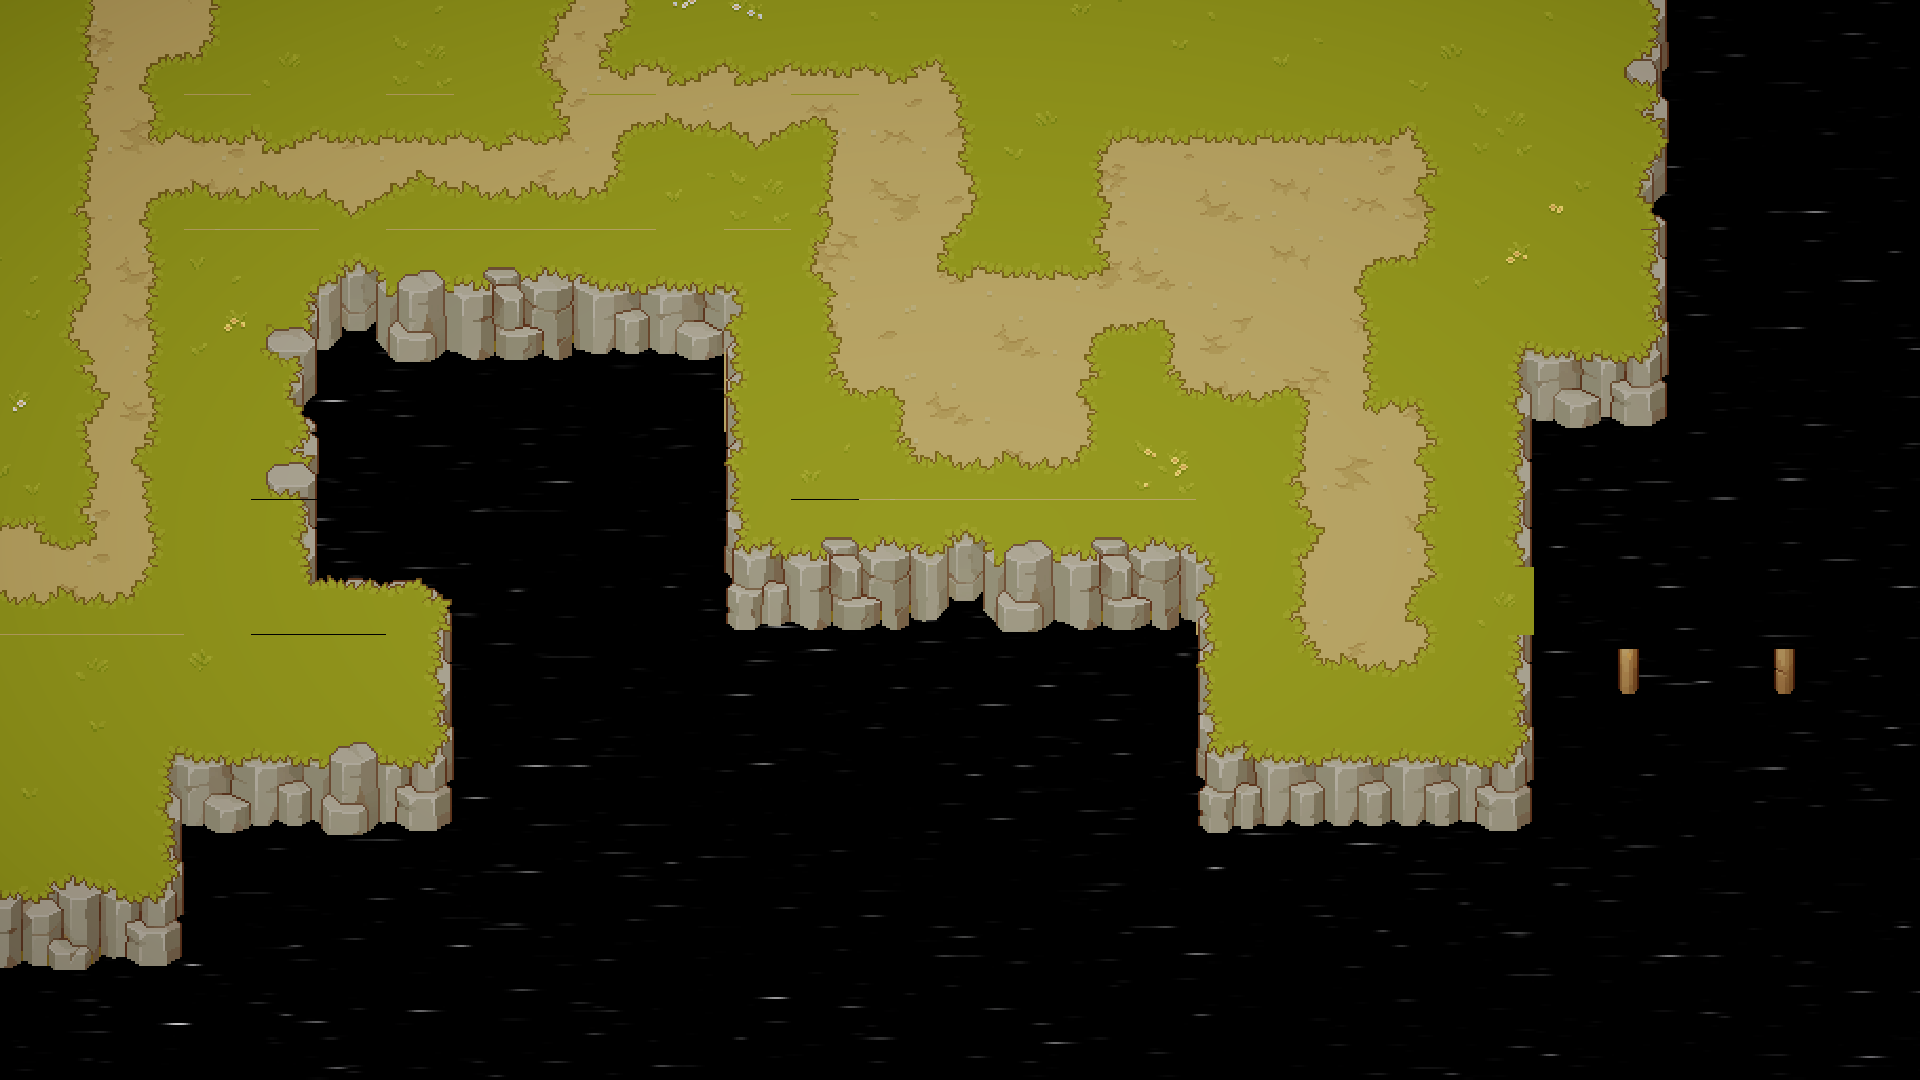
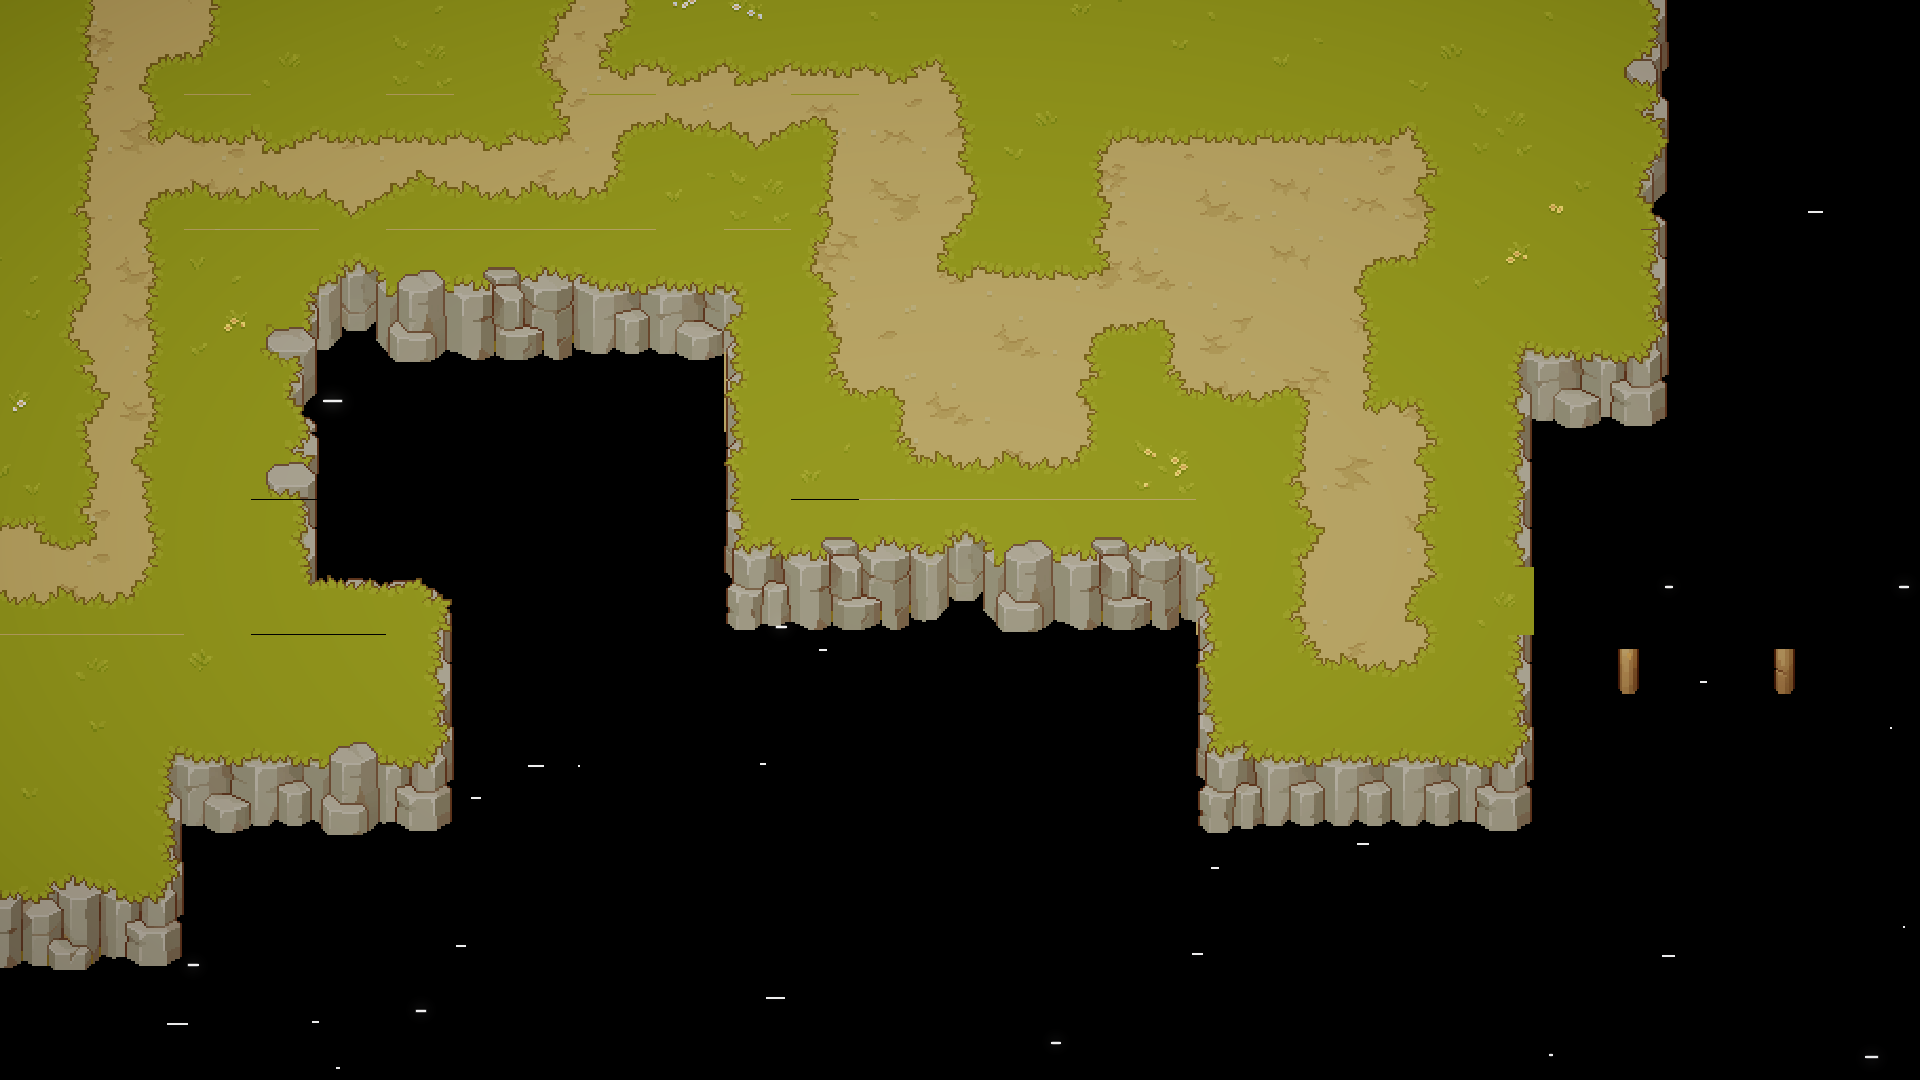
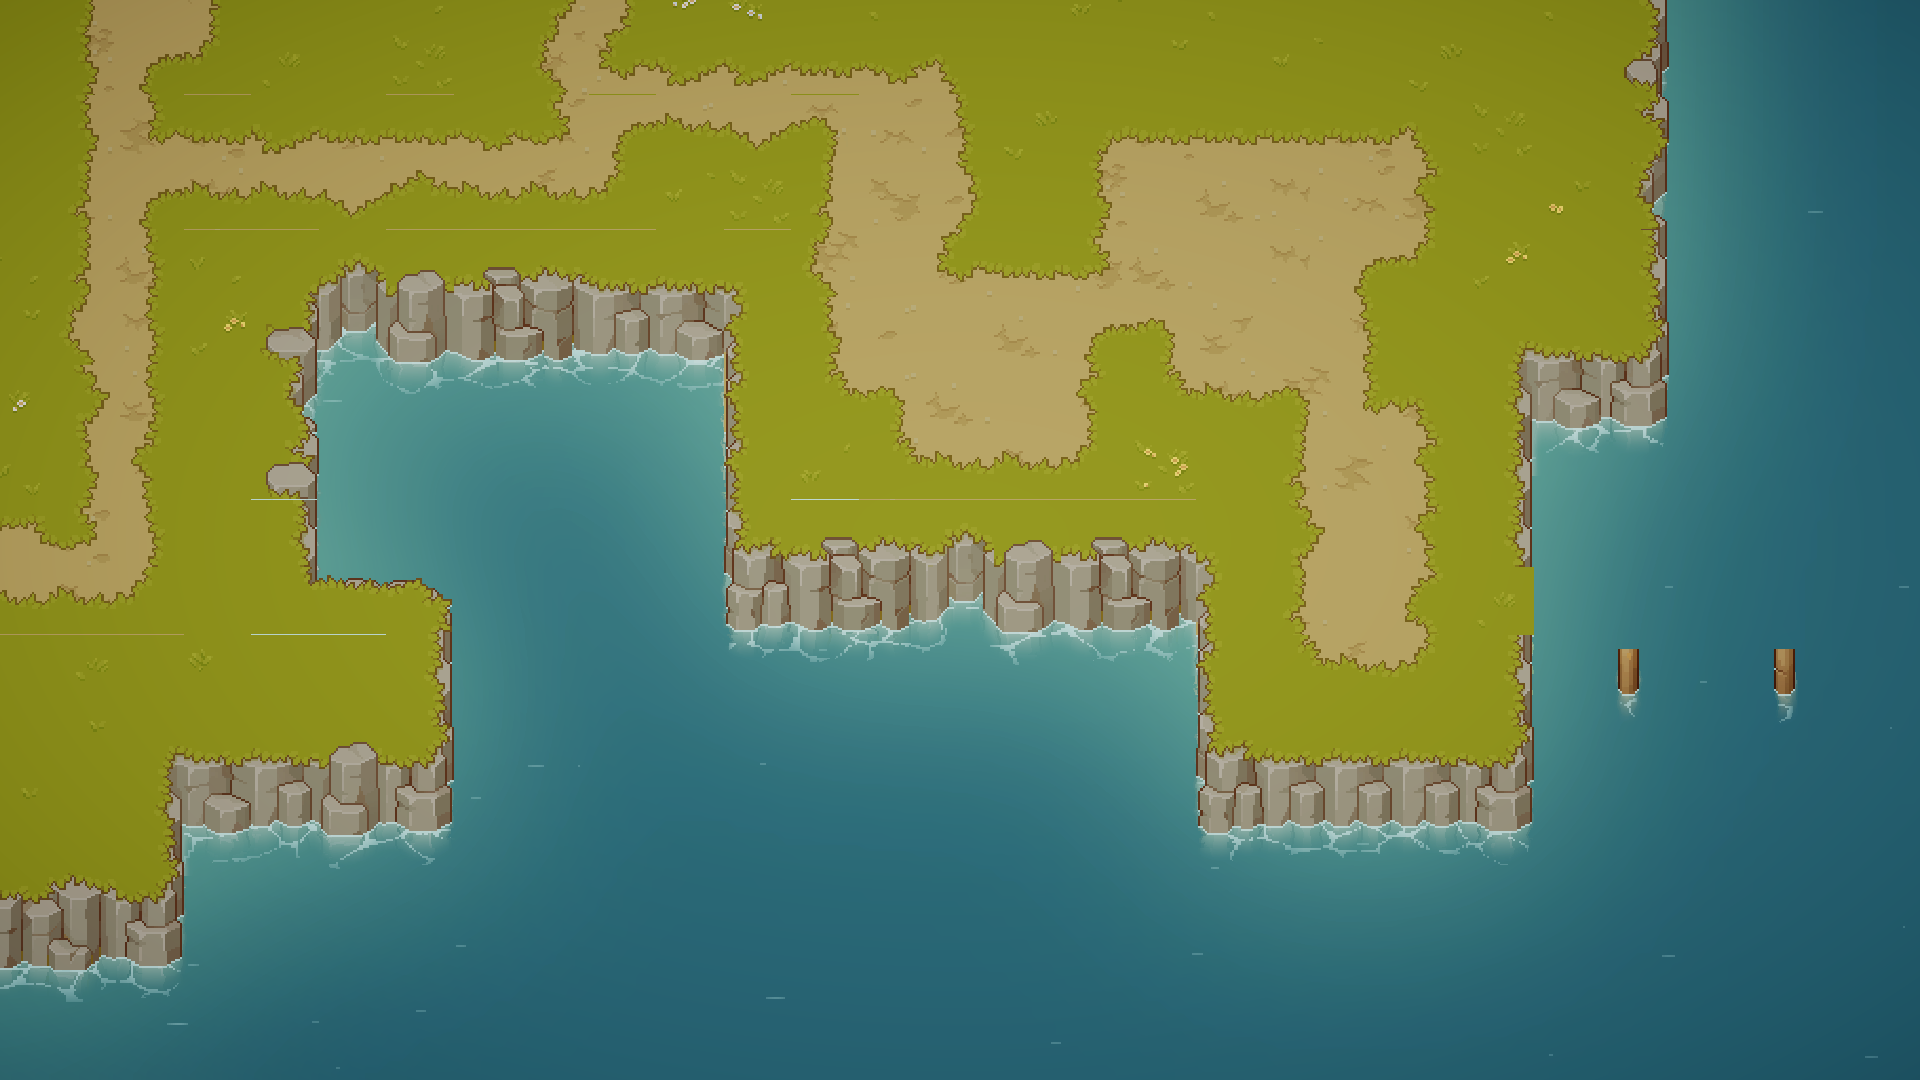
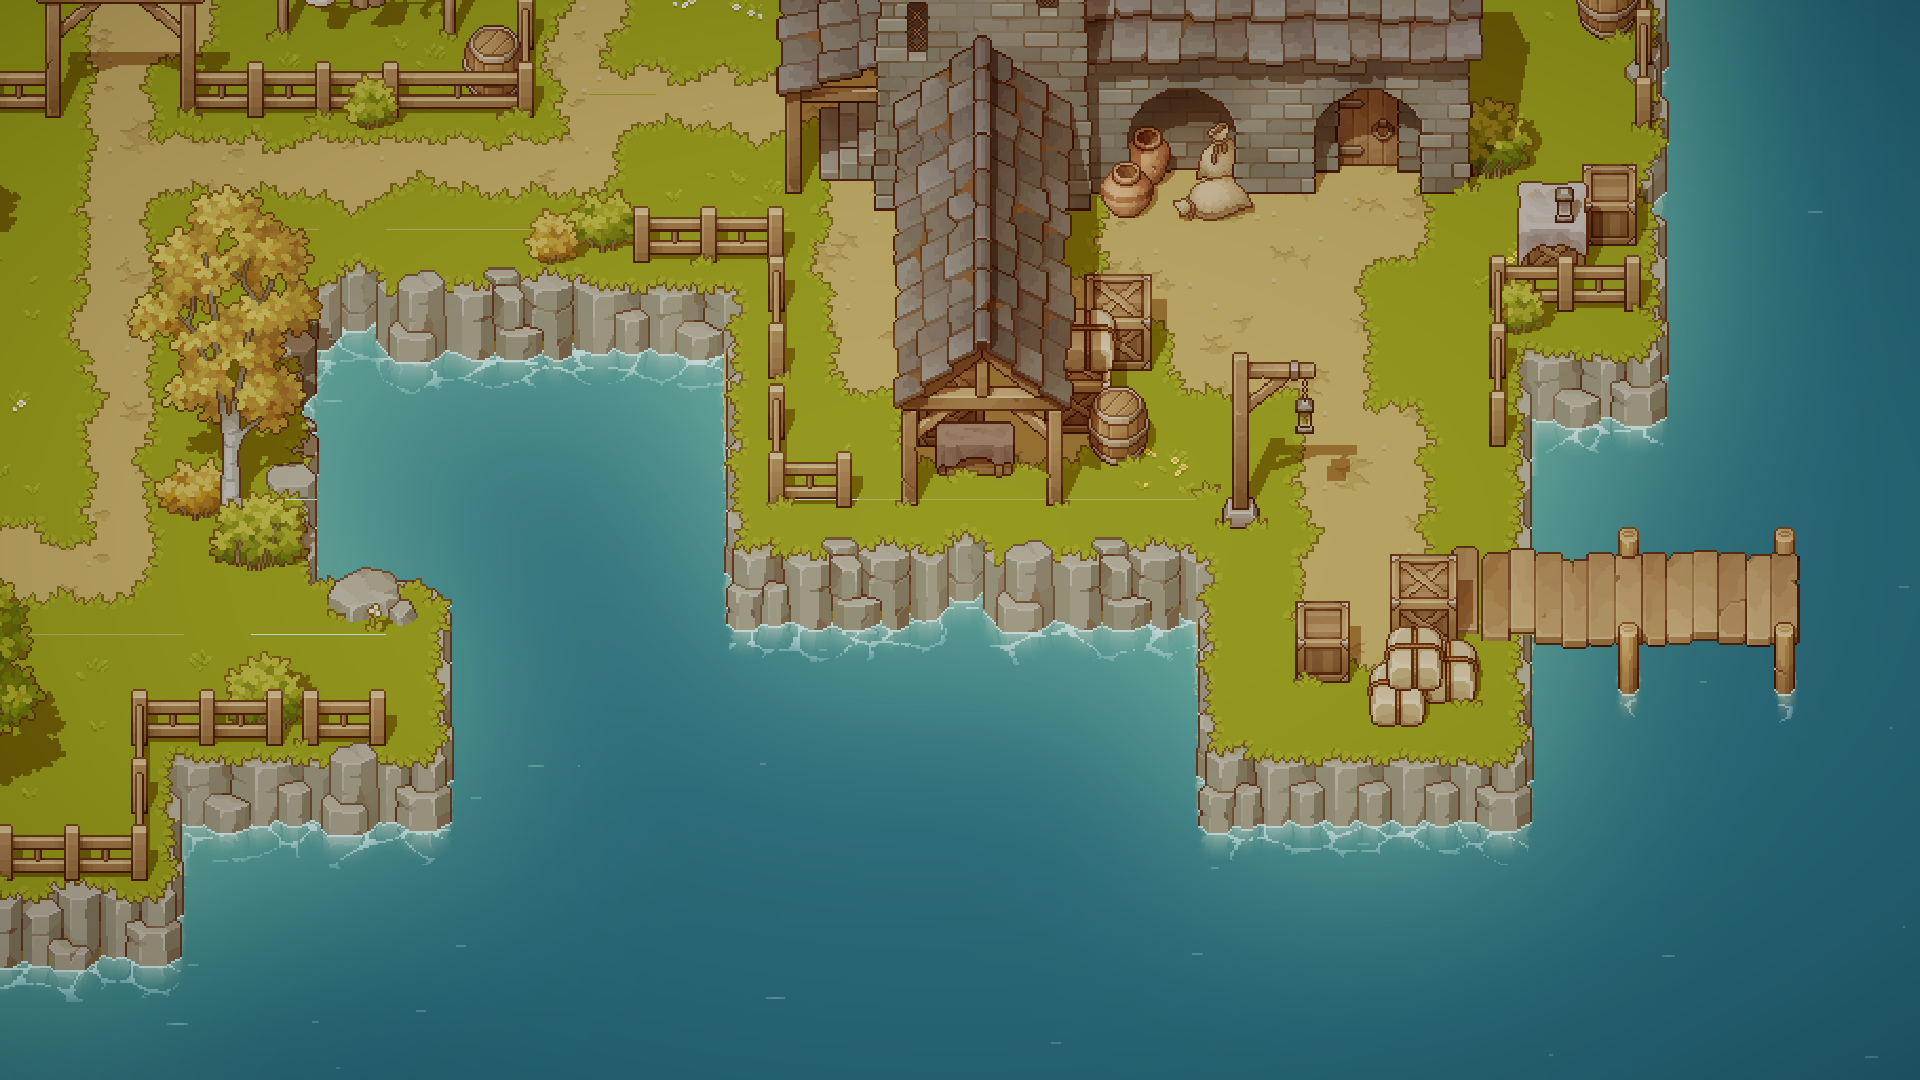
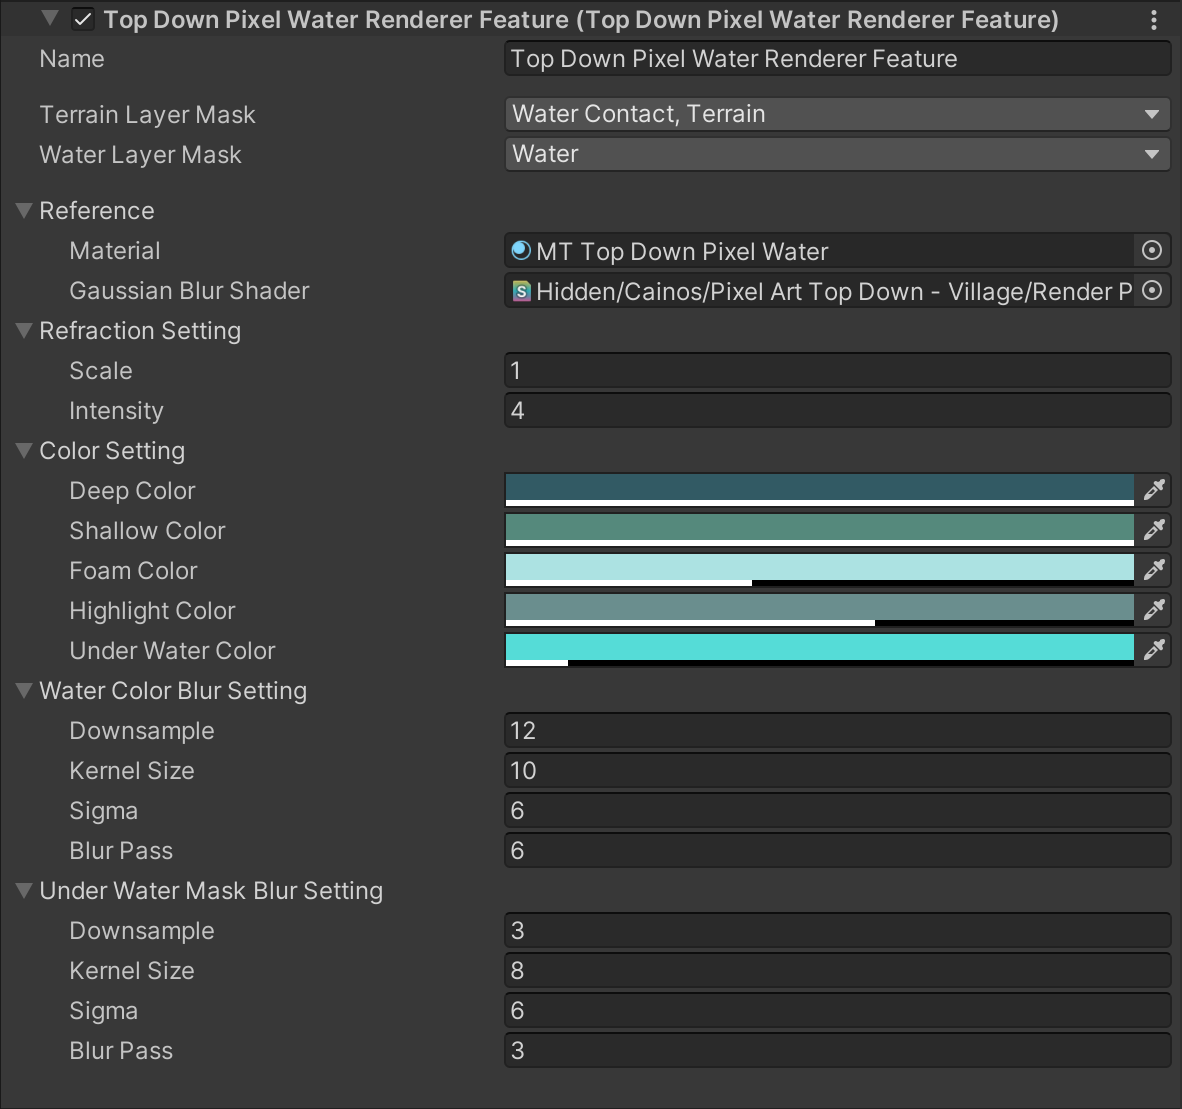
The water effect is achieved through a custom shader combined with a Renderer Feature. Below is a breakdown of the rendering process.

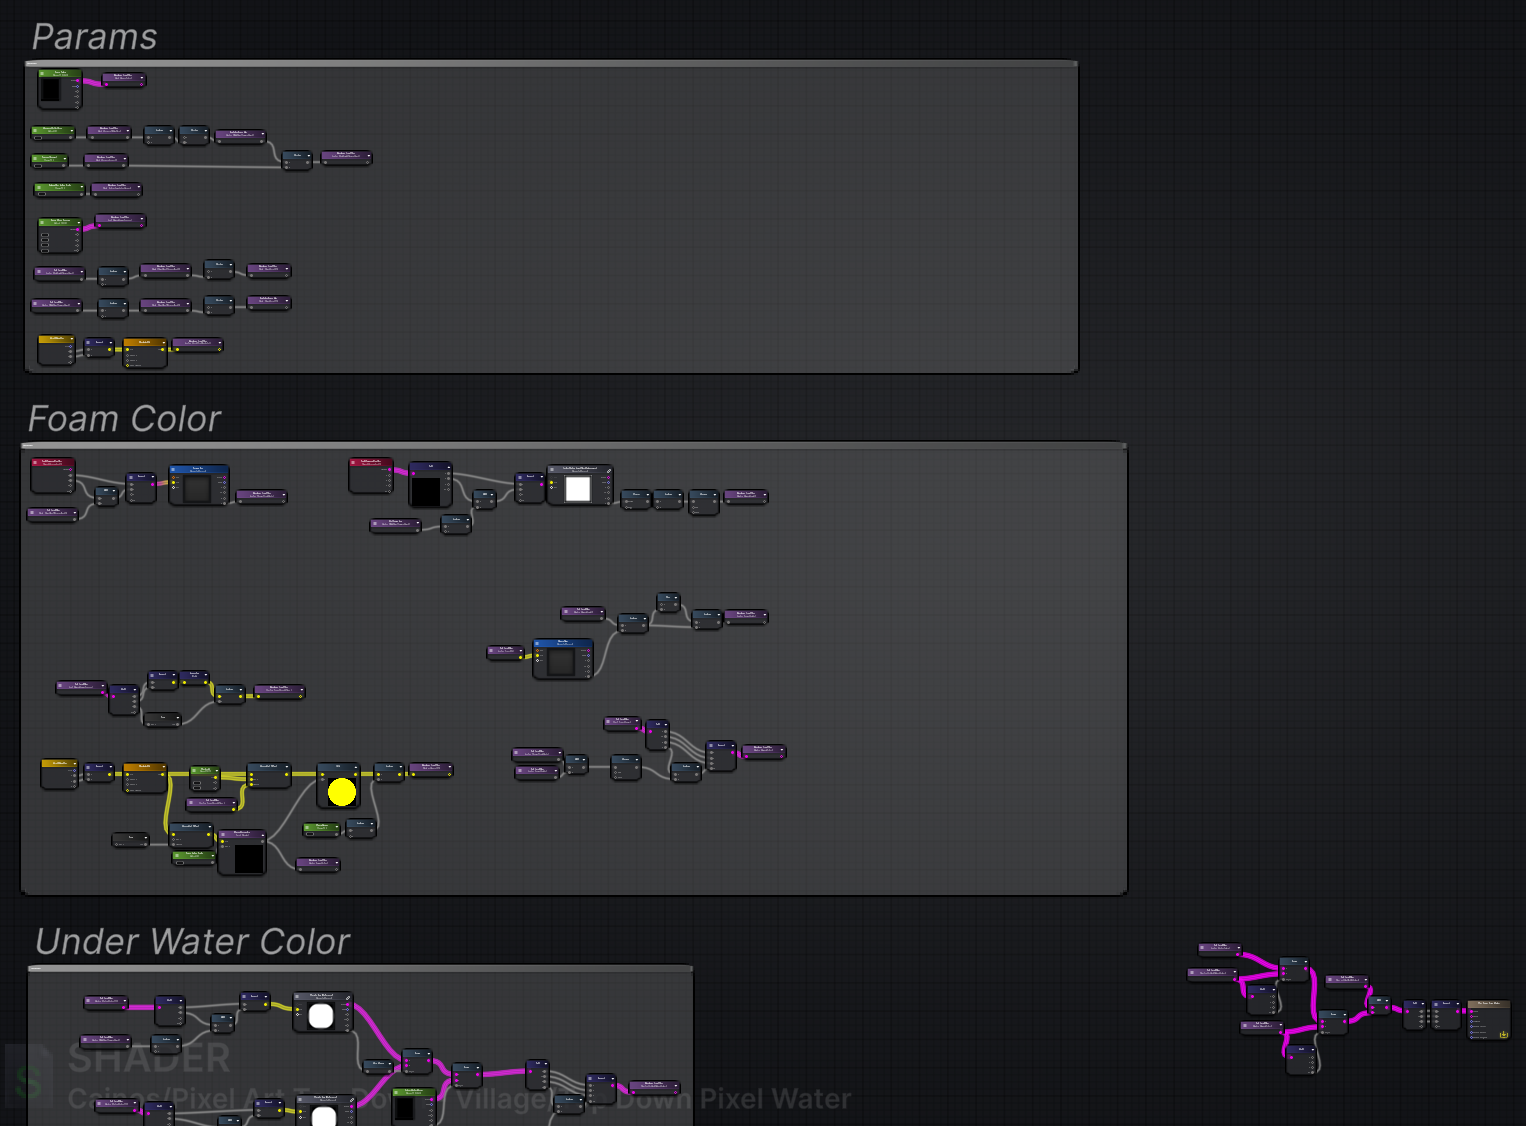
The water shader `ASE Top Down Pixel Water` is made using [Amplify Shader Editor](https://assetstore.unity.com/packages/tools/visual-scripting/amplify-shader-editor-68570). If you own this asset, you can open the shader as a graph to see how it is made.

<div><figure><img src="/files/iaiYSmZbmgb0CAAHpnix" alt=""><figcaption></figcaption></figure> <figure><img src="/files/INPLnbXX5gF7XcabhFwj" alt=""><figcaption></figcaption></figure></div>

### Water Color

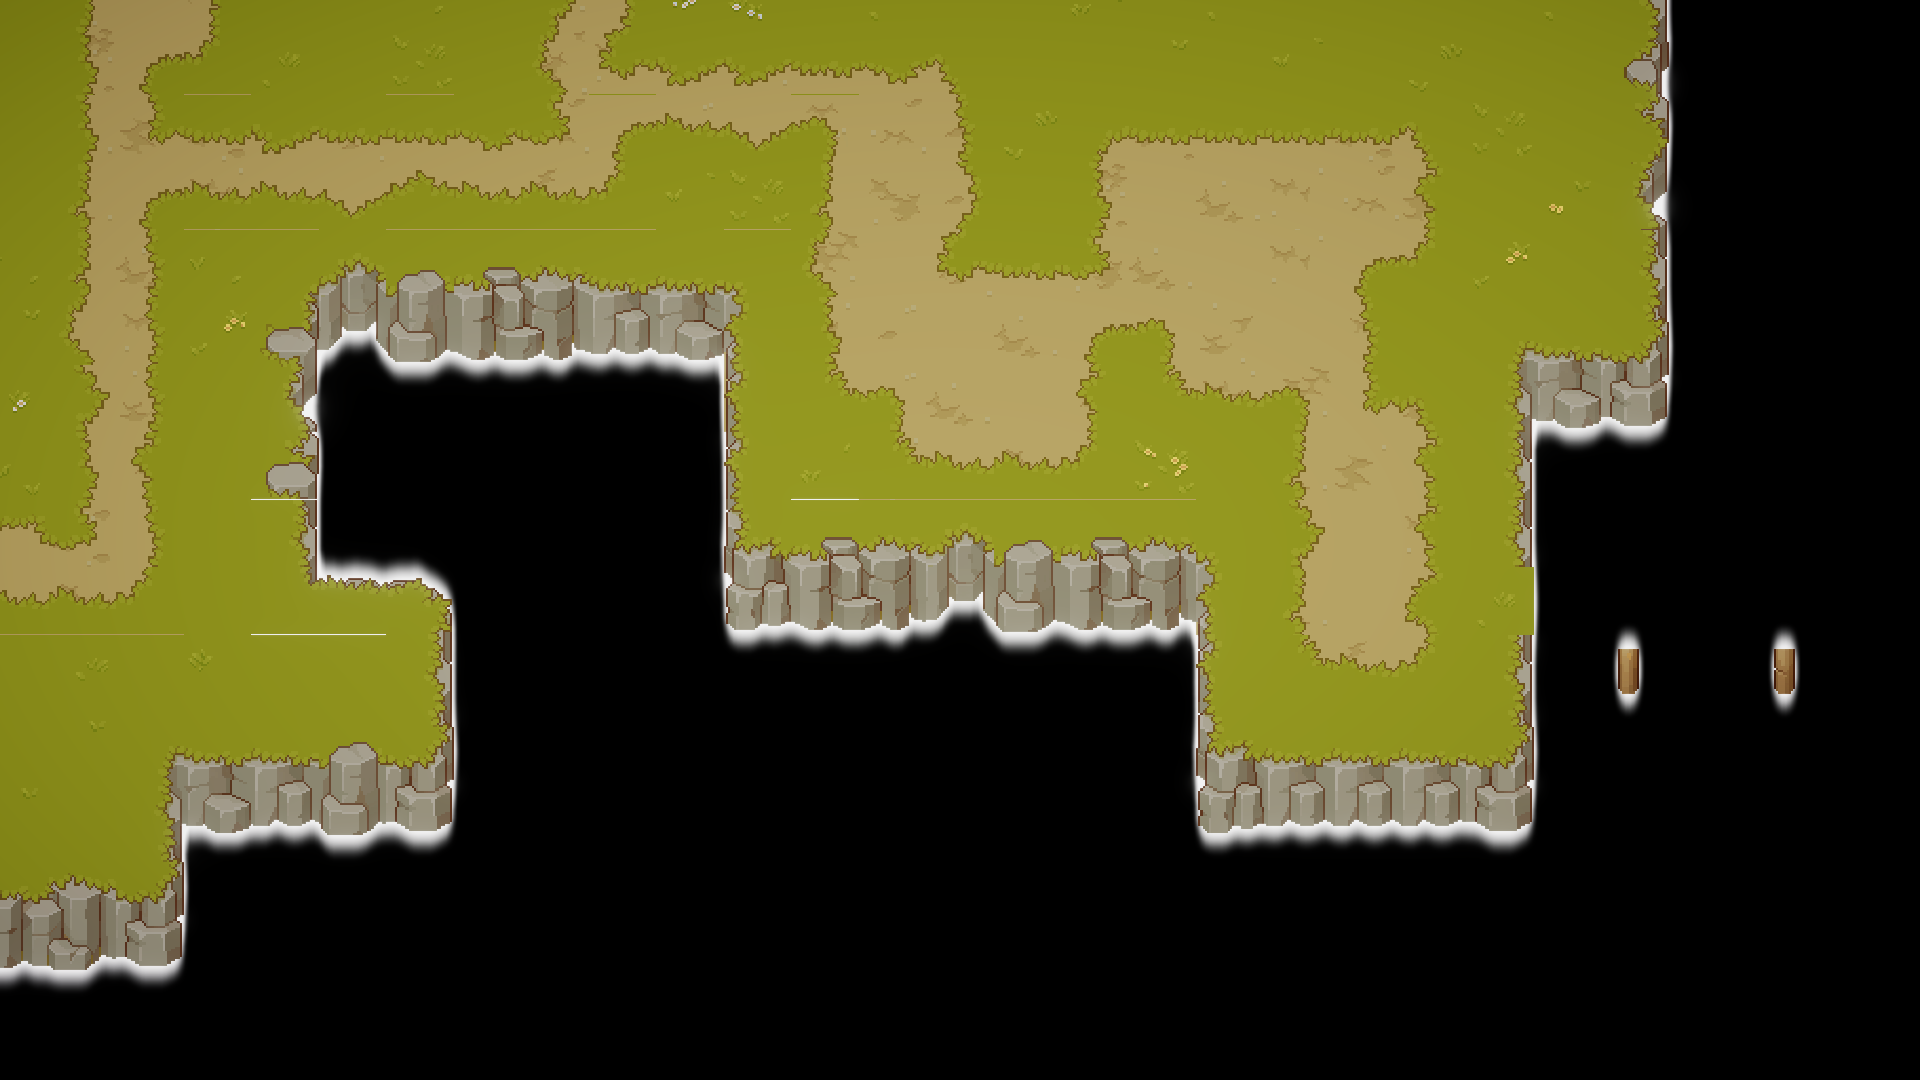
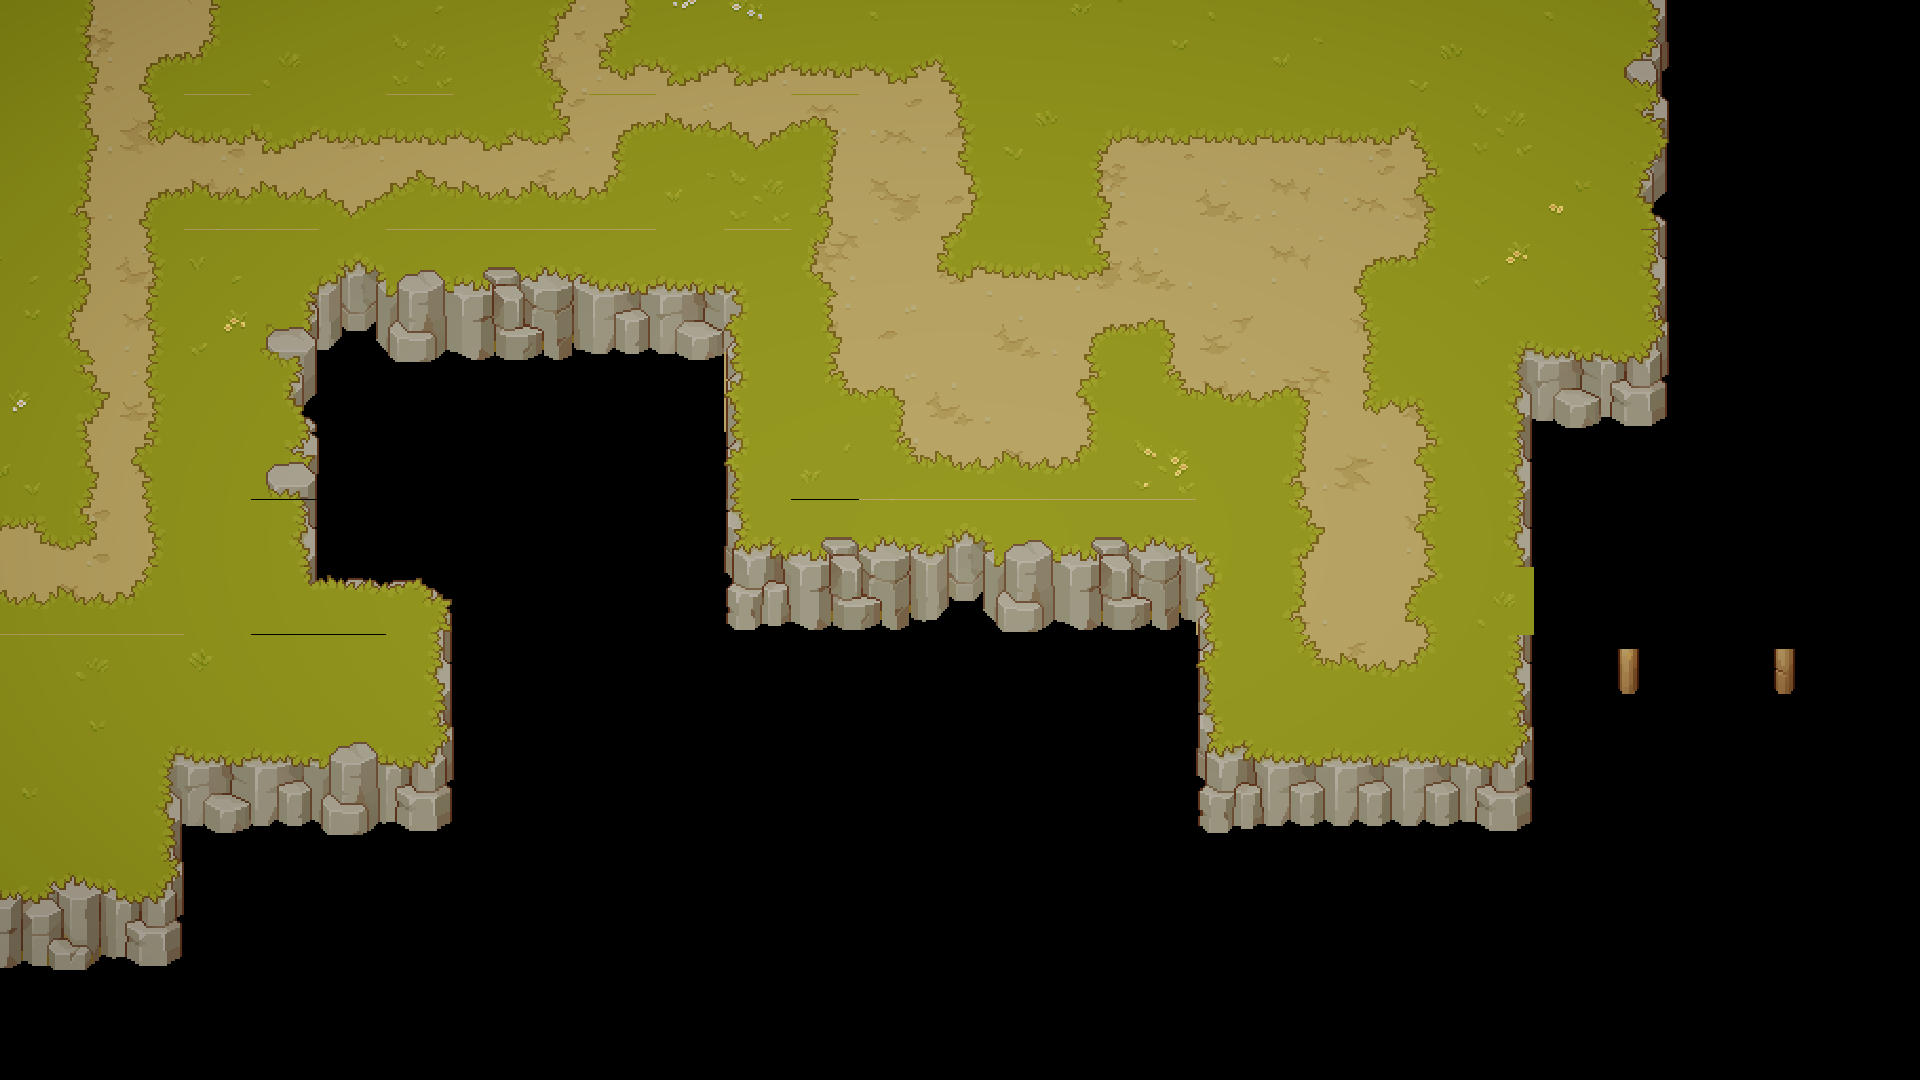
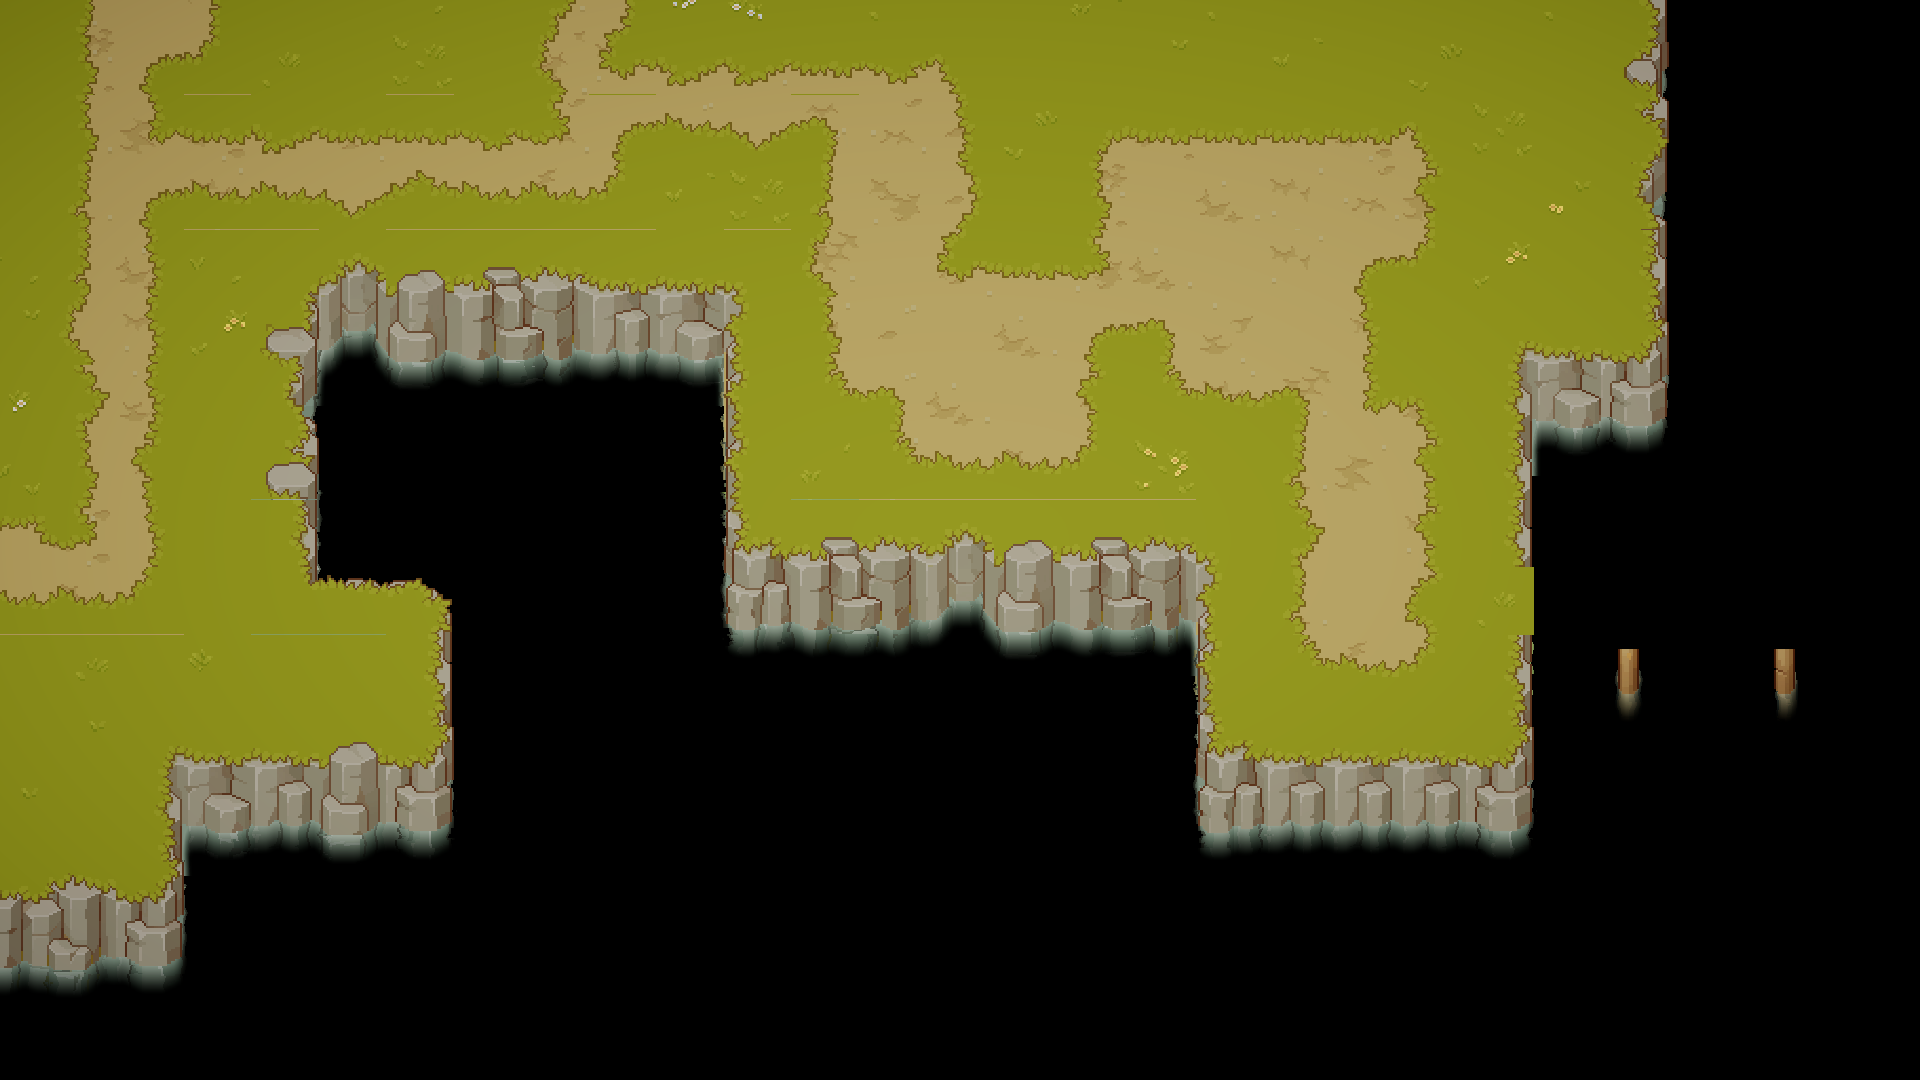
Render terrain and water-touching objects defined in `Terrain Layer Mask` into a texture named `Terrain Tex`.

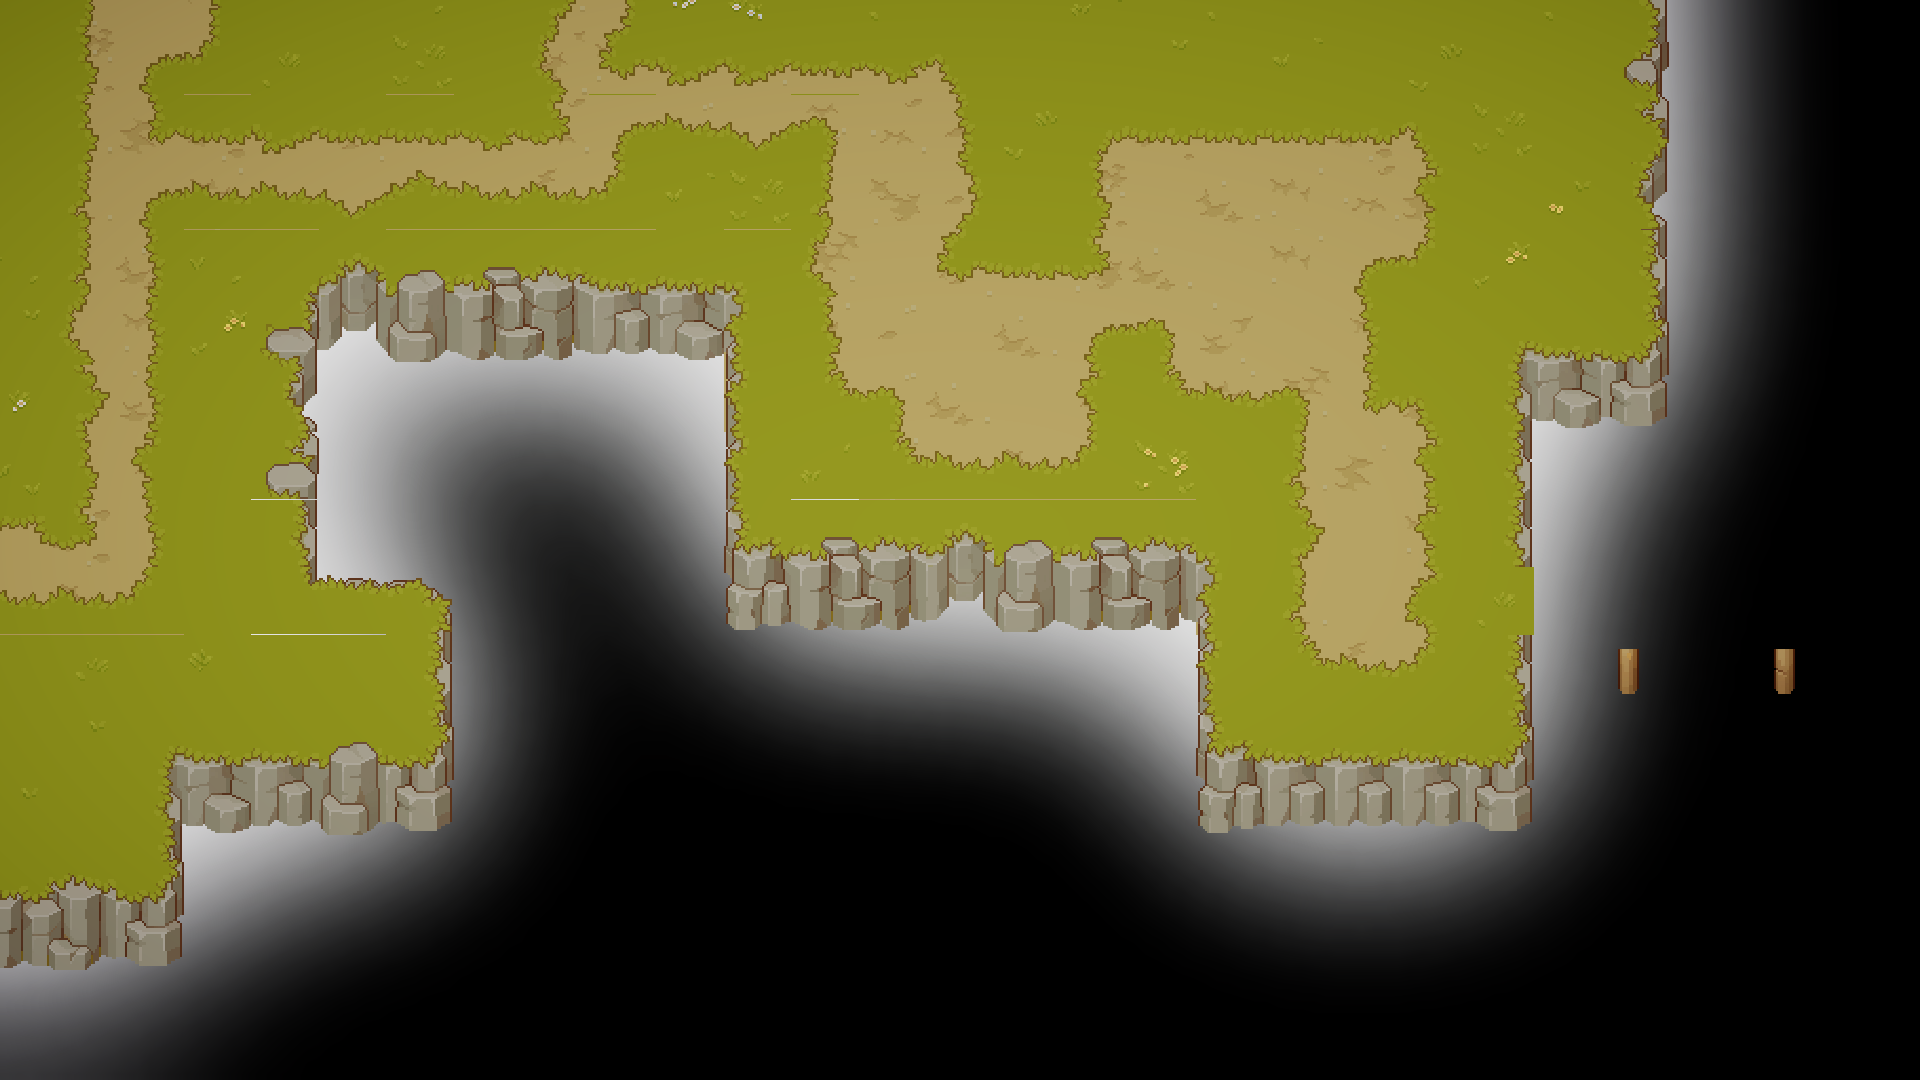
Apply a gaussian blur to the alpha channel of `Terrain Tex` using parameters from `Water Color Blur Setting`, creating `Terrain Blurred Tex`.

<div><figure><img src="/files/oYHdafqXmVxwd7bPCoHS" alt=""><figcaption><p>Terrain Tex</p></figcaption></figure> <figure><img src="/files/TkvsDuEzLcUHNcAdFx9q" alt=""><figcaption><p>Terrain Blurred Tex Overlayed by Terrain Tex</p></figcaption></figure></div>

Then we can use the grayscale of `Terrain Blurred Tex` to lerp between `Shallow Color` and `Deep Color` to create a gradient from shallow water near the shore to deep water far from the shore.

<figure><img src="/files/GUb4ks0yK5jcw3vVFBoz" alt="" width="375"><figcaption><p>Water Color</p></figcaption></figure>

### Shore Line

Shift the alpha of `Terrain Texture` down by one pixel size (1/32 in world space as this asset is 32x32 per unit), color it with `Foam Color` and blend it with the base water color.

<figure><img src="/files/4zpGIdiCSLdz1uWqZt4a" alt="" width="375"><figcaption><p>Water Color with Shore Line</p></figcaption></figure>

### Refraction

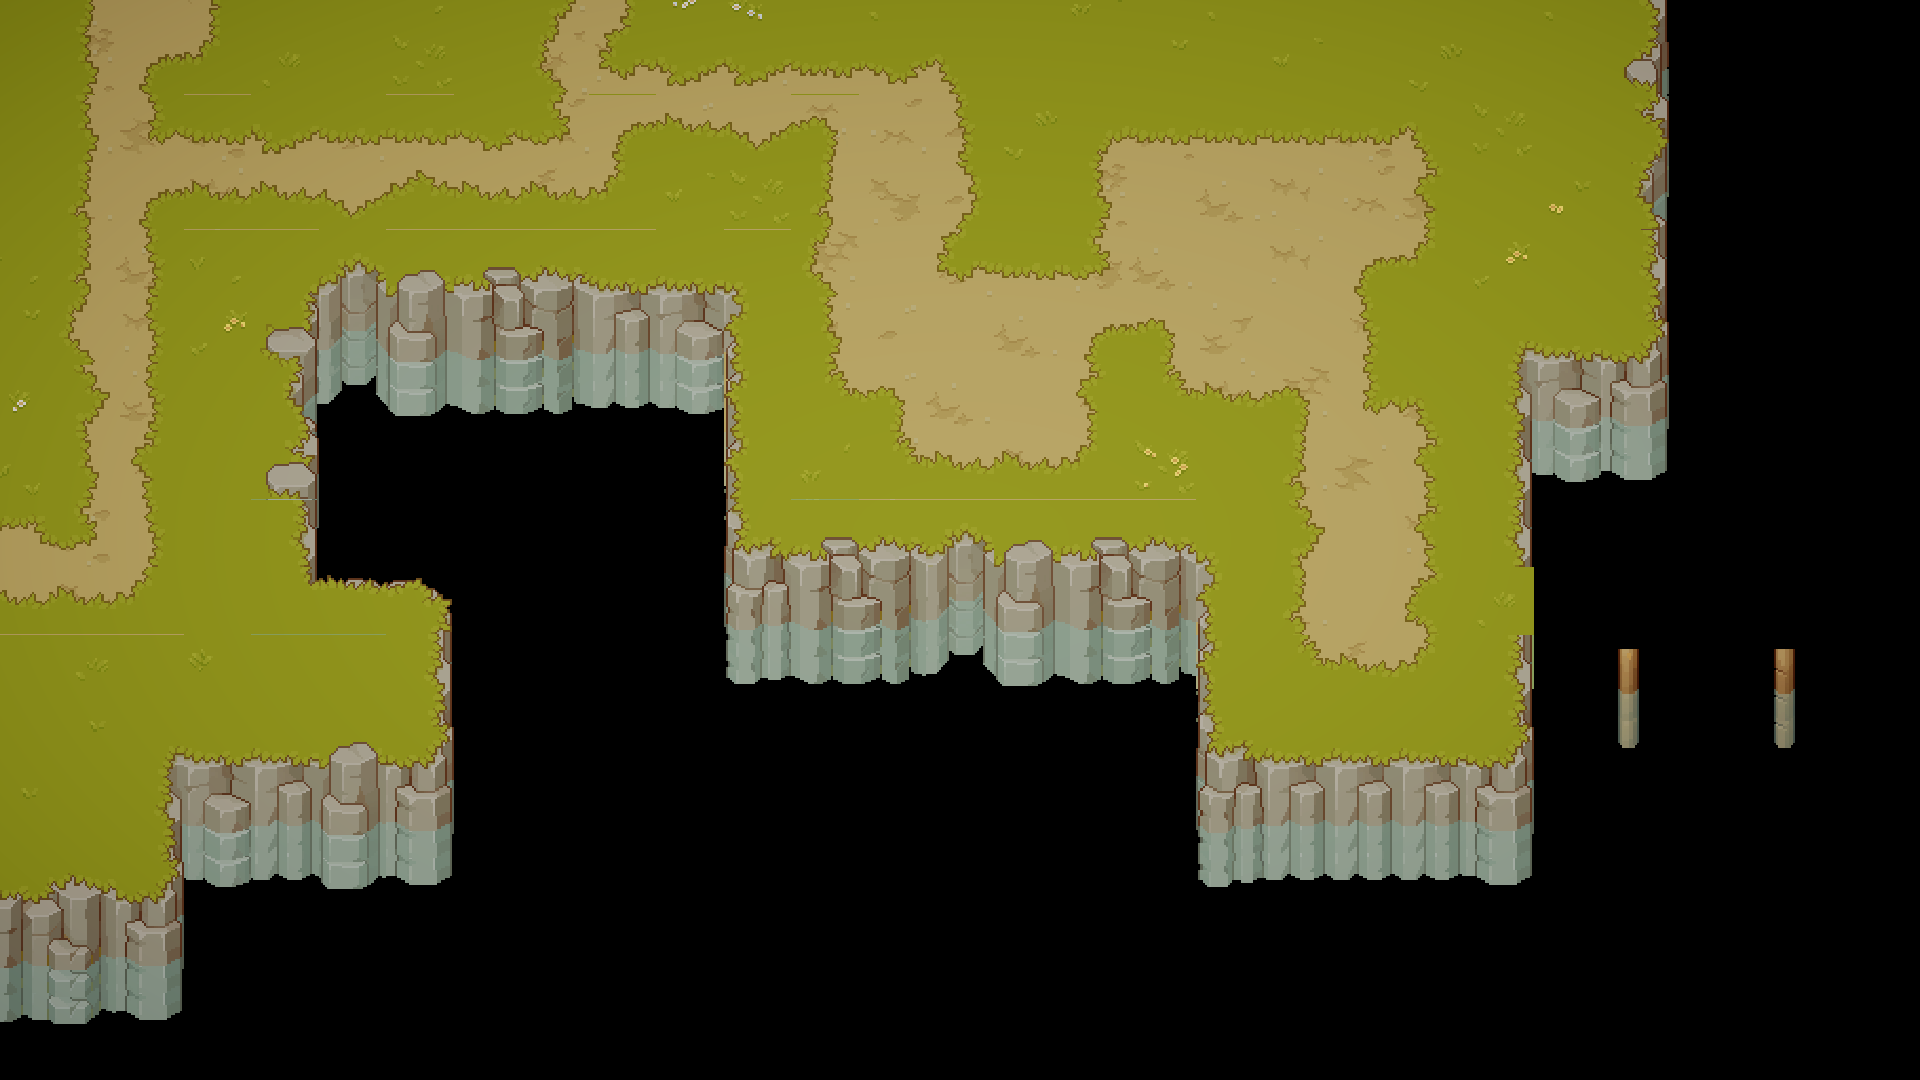
First we need to create a mask texture  `Under Water Mask Tex` in the same way as we create the `Terrain Blurred Tex` in the Water Color step, but with parameters from `Under Water Mask Blur Setting`.

For the content to be refracted, we use the `Terrain Tex` and move it down twice, each by `0.4` tile size, mix them together and color it with `Under Water Color`.

<div><figure><img src="/files/V5UsTm9V8ErdKDk2VssC" alt=""><figcaption><p>Under Water Mask Tex</p></figcaption></figure> <figure><img src="/files/p9gMu2IUWiENzFpwju6F" alt=""><figcaption><p>Under Water Content</p></figcaption></figure></div>

For the distortion effect, apply time-animated Voronoi noise to UV coordinates when sampling from `Terrain Tex`.

Then we can mask the result with `Under Water Mask Tex` to create a fading effect and blend it to the base water color.

<div><figure><img src="/files/YVwRYhq8IA216jsQ0Szw" alt=""><figcaption><p>Under Water Content with Noice Distortion </p></figcaption></figure> <figure><img src="/files/Xo1dxU26GyOADKgFUrAG" alt=""><figcaption><p>Masked by Under Water Mask Tex</p></figcaption></figure></div>
<figure><img src="/files/WadjU09avaZc9UAxJJnE" alt="" width="375"><figcaption><p>Blended with Water Color and Shore line</p></figcaption></figure>

### Foam

We use a foam texure `TX FX Water Foam` from this asset, sample it with the UV multiplied by `2.0` in the vertical direction to match the perspective of the top down scene, and disturb it with a time-animated noise.

For the mask, we use the maske value from `Under Water Mask Tex`, but move it down by `0.5` tile size and power the value by `2.5` (make the white part wider).

<div><figure><img src="/files/tnlOofzTUTnEZzpIRMeH" alt=""><figcaption><p>Foam Texture with Modified UV</p></figcaption></figure> <figure><img src="/files/9Gp5mkGKH2cncWJU6ZPD" alt=""><figcaption><p>Disturb Noise</p></figcaption></figure></div>

<div><figure><img src="/files/ENvkjKmuqe3U540Xx5h5" alt=""><figcaption><p>Mask for the Foam</p></figcaption></figure> <figure><img src="/files/ljU7pRZflNh4NzJGhukg" alt=""><figcaption><p>Final Result</p></figcaption></figure></div>

### Highlight

The highlight pattern is made by multiplying two noise with different size and moving direction, then powered with `6.5` to extract the most light color, and stepped by `0.3` to make it flat.

The UV of the noise is multiplied by `20` in the vertical direction to make it much wider horizontally.

<div><figure><img src="/files/hmrMUdcfhTTZglAJh0uu" alt=""><figcaption><p>Noise 1</p></figcaption></figure> <figure><img src="/files/0eLBGKVdWDFcpri8CDPO" alt=""><figcaption><p>Noise 2</p></figcaption></figure></div>

<div><figure><img src="/files/x8N7fMbVBiMyrLBxEsEx" alt=""><figcaption><p>Two Noise Multiplied Together and Powered by 6.5</p></figcaption></figure> <figure><img src="/files/EKKoxrAD45MGOY2E16Gk" alt=""><figcaption><p>Stepped by 0.3</p></figcaption></figure></div>

Then we can use this as a mask to add `Highlight Color` to the water to create the final water effect.

<div><figure><img src="/files/XI4uD6daLvNmEMgfqnva" alt=""><figcaption><p>Final Water Effect</p></figcaption></figure> <figure><img src="/files/1H5reUOLhpyHbUw7dWn9" alt=""><figcaption><p>With Other Scene Objects</p></figcaption></figure></div>