> For the complete documentation index, see [llms.txt](https://docs.cainos.net/llms.txt). Markdown versions of documentation pages are available by appending `.md` to page URLs; this page is available as [Markdown](https://docs.cainos.net/pixel-art-top-down-basic/sorting-layers.md).
# SORTING LAYERS
### Overview
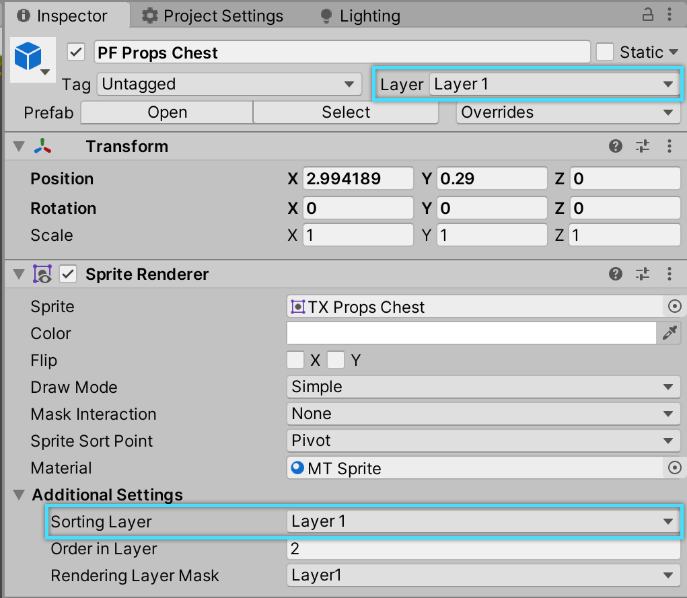
As you can see, the demo scene has platforms of different height levels. To make them sorted correctly, each height level is put at a different `Sorting Layer`. Inside each `Sorting Layer`, objects also have different `Order in Layer` values.
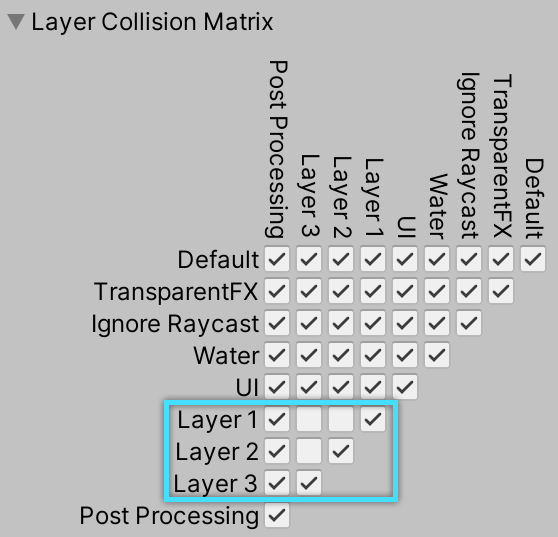
For collision to work correctly in each height level, objects in different `Sorting Layer` should also be put into corresponding `Layer`.
In order to make the player object able to travel between different layers. There is a `Edge Collider 2D` with `Stair Layer Trigger` script attached. When the player object touches the trigger, it will be sent to the layer and sorting layer defined in the script.
### Import Tags & Layers Settings
The demo scene needs proper tags & layers settings to work properly. In order to include the tags & layers settings, the asset is uploaded as a complete project. On import, you should be able to see the project settings included.
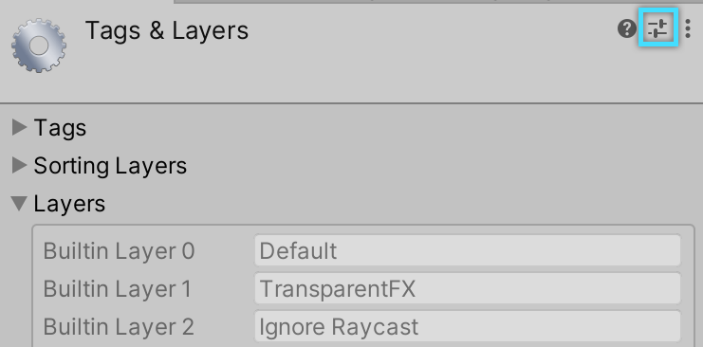
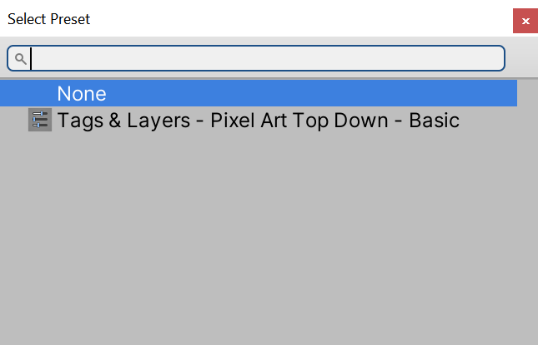
If you did not import the tags & layers settings on import, you can still set it by clicking the slider icon at the top right corner of the Tags & Layers settings and select the preset included in the asset.

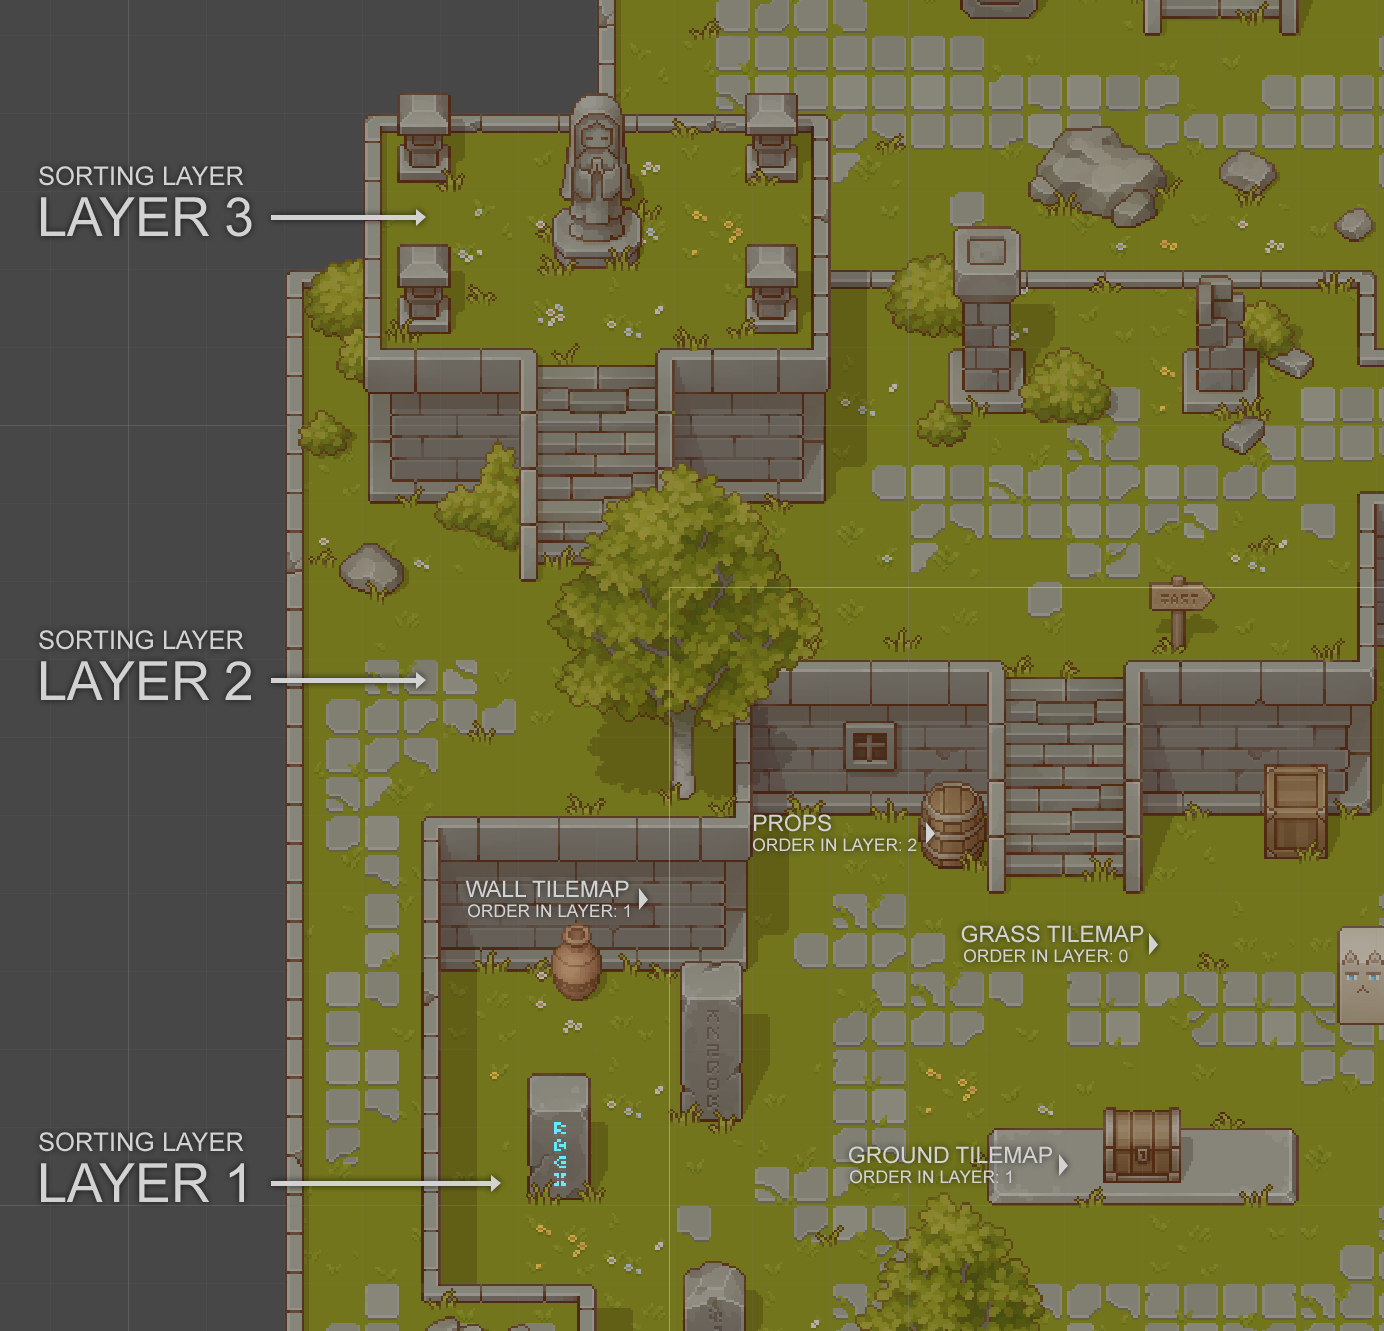 For collision to work correctly in each height level, objects in different `Sorting Layer` should also be put into corresponding `Layer`.
In order to make the player object able to travel between different layers. There is a `Edge Collider 2D` with `Stair Layer Trigger` script attached. When the player object touches the trigger, it will be sent to the layer and sorting layer defined in the script.
For collision to work correctly in each height level, objects in different `Sorting Layer` should also be put into corresponding `Layer`.
In order to make the player object able to travel between different layers. There is a `Edge Collider 2D` with `Stair Layer Trigger` script attached. When the player object touches the trigger, it will be sent to the layer and sorting layer defined in the script.